There are a lot of Linux distributions out there, each suited for a different goal and purpose.
Linux being an open-source OS allows anyone from any place around the world to build their own customized Linux distribution that suits their own needs. Linux is made of many different smaller components, which can be added or removed according to the need.
These customized Linux distributions can be anything; as simple as changing the default wallpaper of the system or all the way up to kernel tweaks and package management improvements.
The process of building a customized Linux distribution, as we will see, is not as hard as it sounds. Instead, there are special programs and tools that we can use to fulfill that purpose easily.
Table of Contents:
Why Don’t We Build a Distribution From Scratch?
In the Linux world, there are “independent distributions” and distributions that are based on other distributions. Let’s see the difference between the two:
- Independent distributions are Linux distributions that are developed from scratch and do not use the official package repositories of any other Linux distribution. Instead, they fully own and manage their own repositories to serve their users. They also don’t adhere to the design or software decisions of other Linux distributions, as they can always make their own. Of course, they can always use other open-source components and software like the other distributions do (they don’t have to write everything by themselves), but they just use their own package infrastructure for serving users.
Examples of independent Linux distributions are Debian, Fedora, Slackware, openSUSE and Gentoo. - Distributions based on other distributions are the ones that do use the official package repositories of other distributions, as well as adhering to some or most of the design and software decisions made in the parent Linux distribution. If the parent Linux distribution dies for example (e.g. becomes no longer maintained), then mostly, offspring Linux distributions die as well because the developers of these smaller distributions do not have enough resources to maintain the parent project.
Examples of distributions that are based on other distributions include Ubuntu, Linux Mint, Red Hat Linux, and Manjaro.
Linux Mint for example is based on Ubuntu. We say “based” because the Linux Mint developers do not package all the packages in its repositories on their own. Instead, most of the packages provided to Linux Mint users are the same ones packaged and provided by Ubuntu, but Linux Mint adds a few more packages, their own applications, and another set of customizations to make their own distribution.
Ubuntu, in turn, is based on Debian. Debian provides more than 60,000 binary packages in its repositories, and reproducing these packages from scratch is a gigantic effort that few organizations and companies in the world can make.
This is why people almost always build their customized Linux distributions on other Linux distributions instead of starting from scratch. They save themselves a huge time and effort by doing so.
Those who still want to start from scratch can use a guide called “Linux from Scratch” to bring all the needed software components to make a Linux distribution from the ground up.
Do not reinvent the wheel, unless you are going to make it different!
Create a Linux Distribution Based on Ubuntu
Ubuntu is the most popular Linux distribution, featuring a lot of features that make life easier for end users. Therefore creating a distribution based on it will be a good choice if you are a beginner and want to learn a new thing or two, or share your own copy of the operating system with the world.
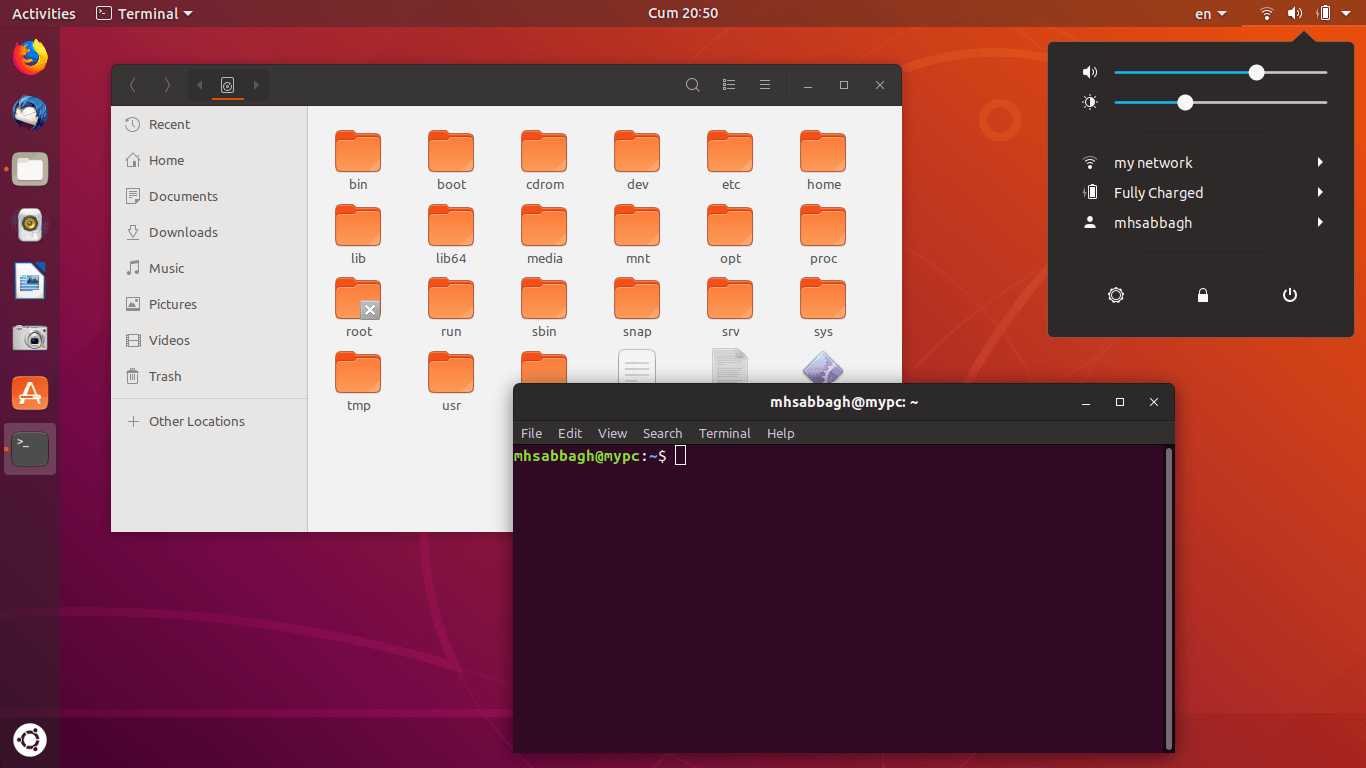
There are multiple ways to build a Linux distribution based on Ubuntu. One of them using an easy graphical program, and the other one is for experts using the Linux command line.
The Easy Way
An open-source software called “Cubic” is the most common way these days to easily build a customized Linux distribution of Ubuntu. You can learn more about it from its GitHub page.
To install it on Ubuntu, run the following commands in your terminal:
sudo apt-add-repository ppa:cubic-wizard/release
sudo apt update
sudo apt install --no-install-recommends cubic
Afterwards, look for the program in your application menu and launch it.
The program starts with the following window:
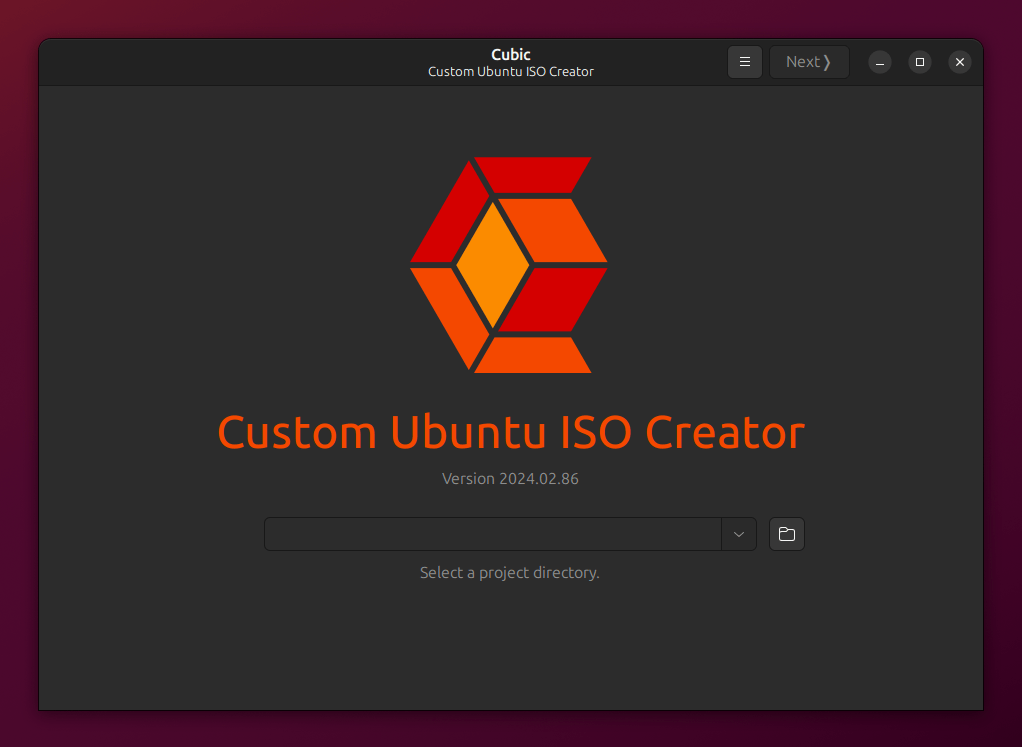
Hit this button to select the folder where you will be working and creating files:

And select the folder that you want (or you can simply create a new one):
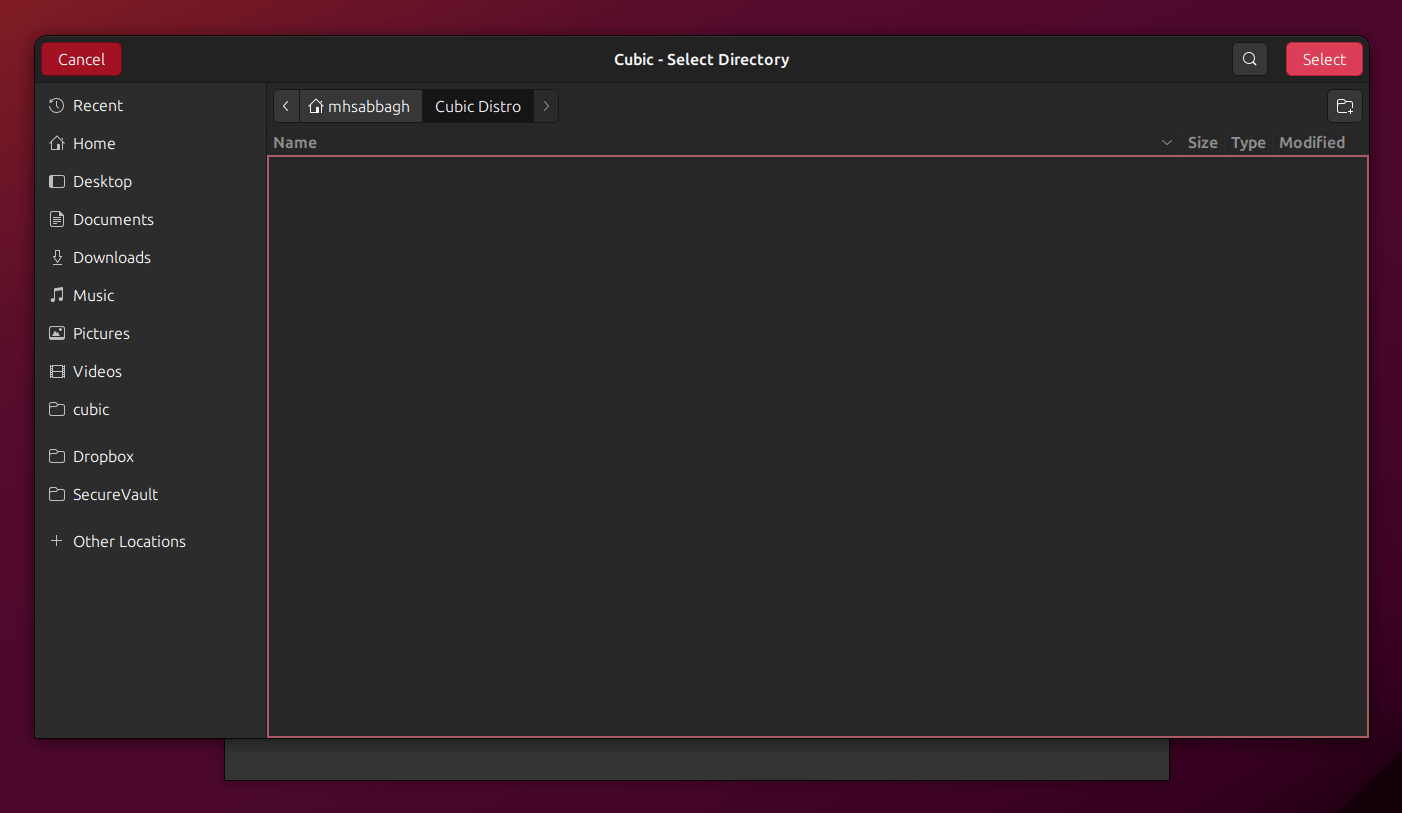
Click on “Next” to move on to the next part.

This window will ask you to select your parent Linux distribution ISO file. You must download the original ISO file for the Ubuntu or Ubuntu-based Linux distribution on which you want to build your customized distribution. You can download the ISO file you want for whatever Ubuntu version from ubuntu.com/download, or you can even use a Ubuntu-based distribution ISO file such as Linux Mint.

After you select the base ISO file for your Linux distribution, you will see that a lot of info is displayed in these text boxes like in the screenshot. Let’s see what each piece of info corresponds to:
- is the version you want to release for your Linux distribution. It could follow any versioning scheme you want.
- is the name of the ISO file that is going to be generated.
- is the output directory where the new distribution will be generated. Leave it untouched if you selected it correctly in the previous step.
- a simple name for the distribution along with its release version.
- is a one-line description for your distribution.
- another text area for the name of your project. You can make it the same as the “Release” text.
- is the URL or homepage where the project exists on the Internet.
Modify this information according to your needs, and click on “Next” to go into the next part.
The next part will include a virtual environment opened for you in the terminal:
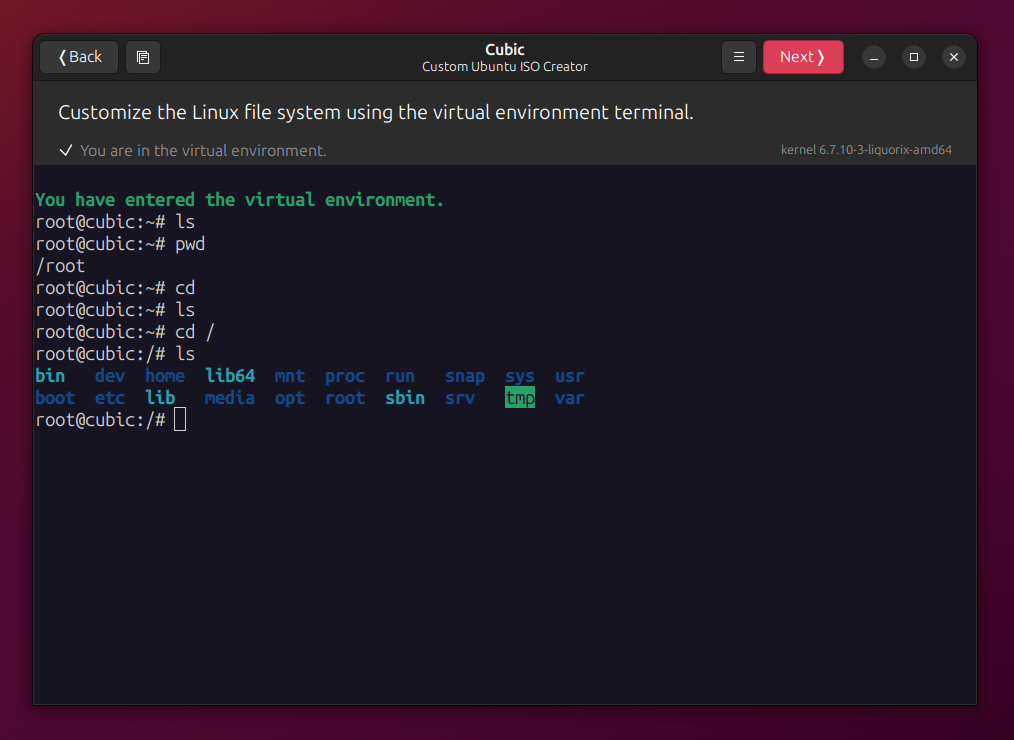
Basically, this is a simple terminal window from which you can customize your new Linux distribution and add/remove anything you want from it. You can also drag and drop files from your file manager to the terminal to copy & paste them into the current terminal working directory.
This is where most of the fun happens.
This is the place where you can customize your Linux distribution according to your own needs. For example, if you want to remove Firefox and add Chromium browser as the default browser then just run the following commands in that terminal window:
sudo apt remove firefox
sudo apt install chromium-browser
If you want to install additional image backgrounds to your distribution then you can use some ready wallpapers from other Ubuntu spins:
sudo apt install ubuntustudio-wallpapers
sudo apt install ubuntu-unity-backgrounds
You can also replace the default Linux kernel in your distribution with the Liquorix kernel, for example, if you want a better gaming performance:
curl -s 'https://liquorix.net/install-liquorix.sh' | sudo bash
Or even enable zRAM by default for whoever is going to use your customized Linux distribution:
The possibilities are endless, and you can do all the modifications you want from that terminal window. You can read more about this part from the Cubic Wiki.
Once you are done, hit “Next” to move into the next window.
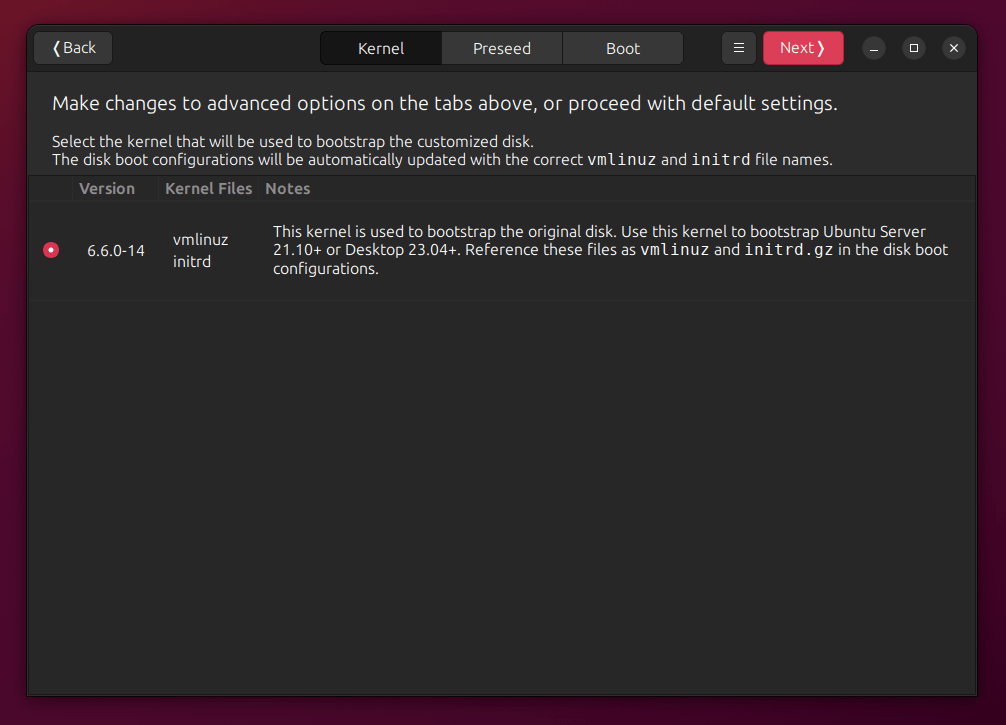
The next part will simply ask you to choose the default kernel version you want for your Linux distribution. If you didn’t install any further additional kernels, then you will usually have one choice to proceed with, otherwise, you can select the kernel you have added (like Liquorux for example):
The next part will let you choose the default compression algorithm to be used in your ISO image file for your Linux distribution:
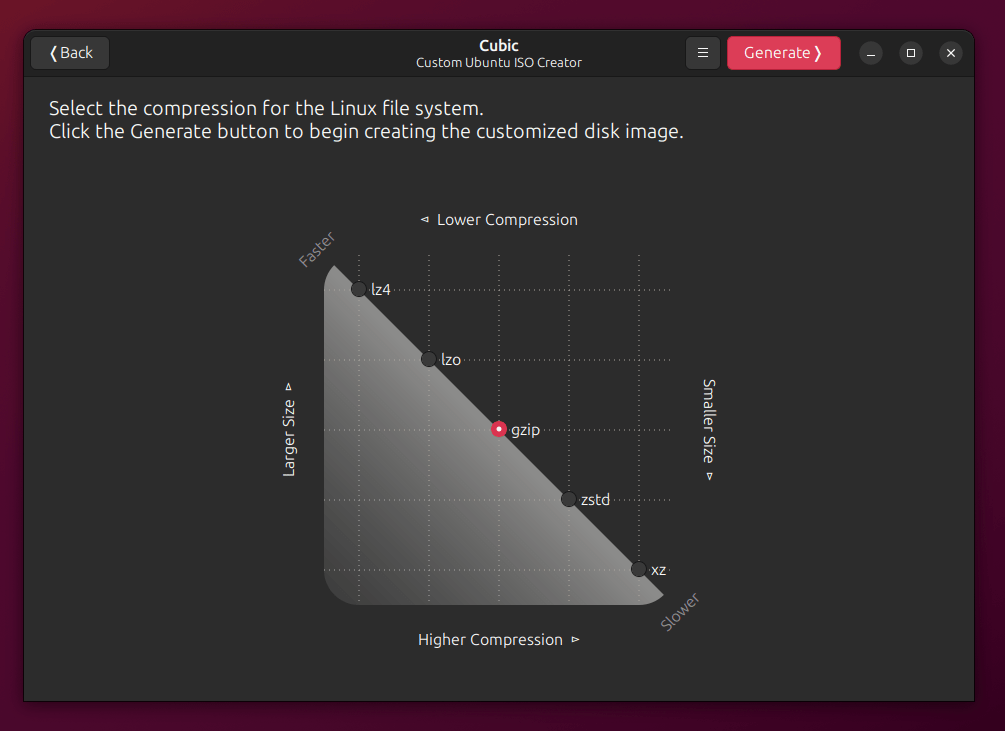
Some of these algorithms can generate a smaller ISO file in size like xz, but the boot time later on (just during installation for the first time) will be longer because decompression will take a longer time to get the system ready for installation.
You can choose the setting that pleases you the most, but mostly, it is better to just go with the balanced choice of gzip for the moment. zstd is yet another good choice.
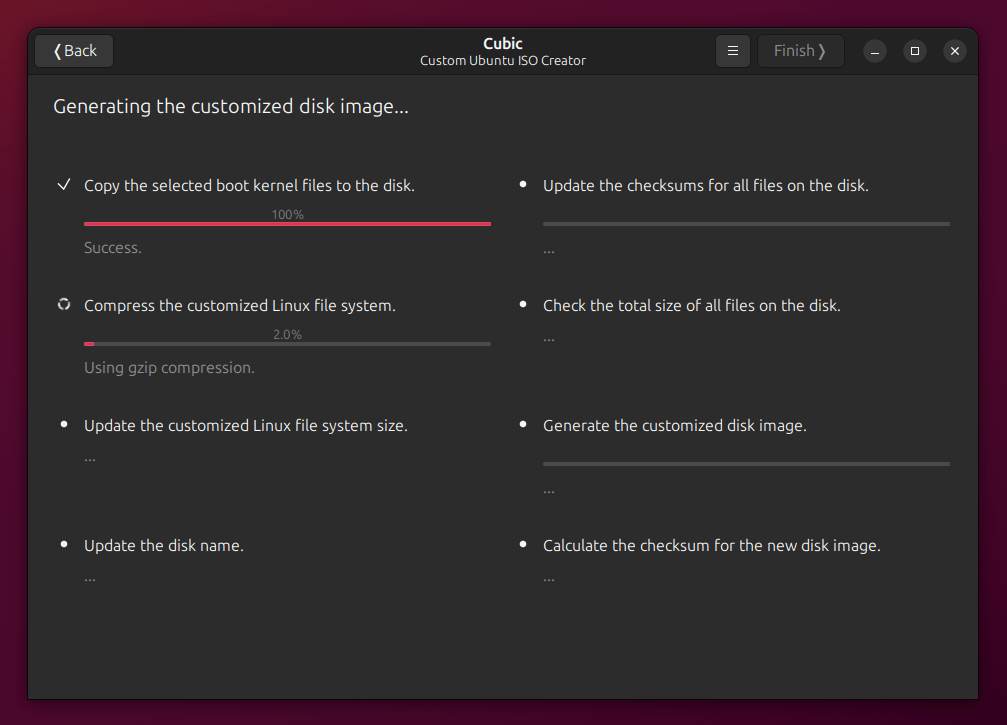
Once you click on “Generate”, the program will start working to generate the ISO file of your own customized distribution:
After it’s done, you will see the following info:
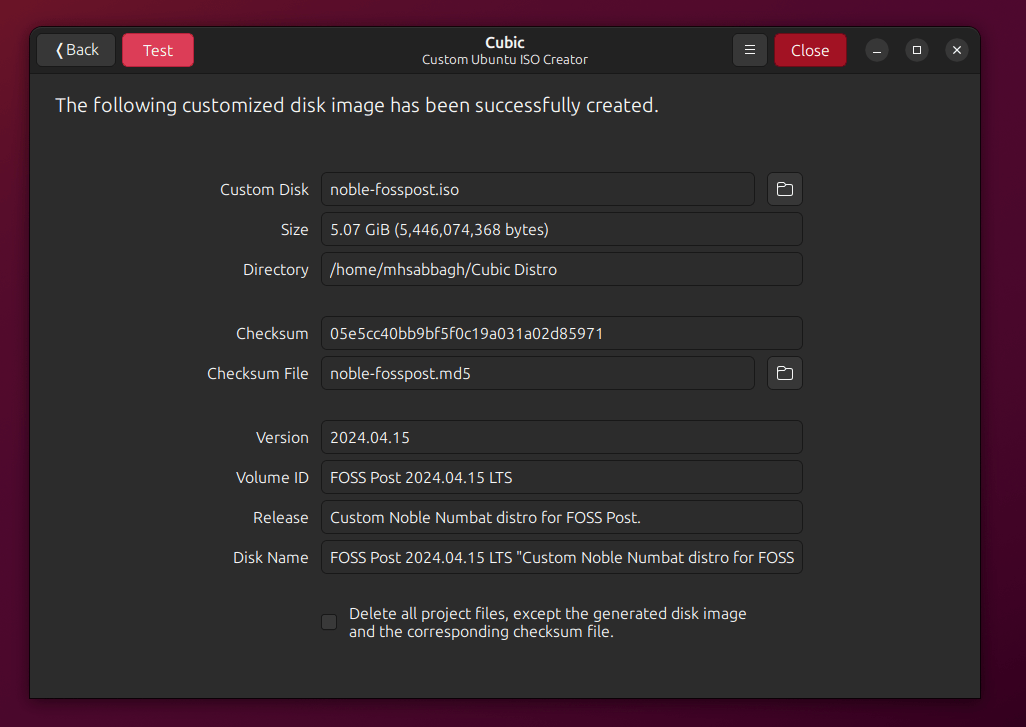
Click on the file directory icon near the “Custom Disk” link to open the location where your ISO file is located:
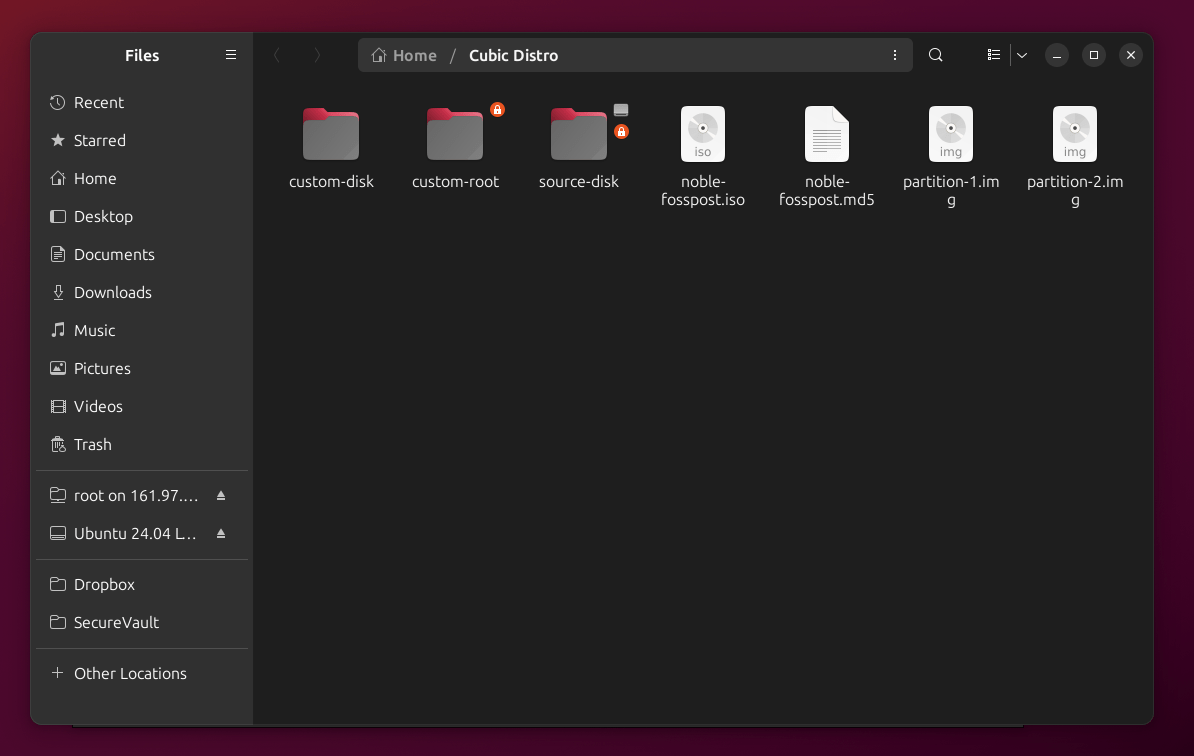
You can see that your ISO file is now ready for usage, and that an additional MD5 checksum file exists. MD5 checksums are used to make sure that the integrity of the ISO file is not damaged while transferring files/data over networks like the Internet (for example if you distribute your ISO file for users, you can give them this number/file so that they make sure the ISO file is not damaged after they finish downloading).
That’s it! Your custom Linux distribution is now ready, and you can also hit the “Test” button in the program to instantly launch it in QEMU virtualization:

The Hard Way
Other harder ways exist for advanced users and those wishing to apply further modifications to their custom Linux distributions.
For this task, we recommend using the Pop!_OS ISO building scripts. Pop!_OS is a Linux distribution developed by System76 based on Ubuntu, and they have released their ISO build scripts for free on GitHub.
You can study the repository, and the scripts in it, and customize them according to your needs.
The process of building the distribution later on won’t take more than running the following commands inside the project files:
./deps.sh
make
And the ISO file will be generated in your current working directory.
Other ISO building scripts exist either for Ubuntu or Debian-based distribution if you search GitHub and other places. For example, the PeppermintOS project has a similar set of scripts to build its own ISO file, and you can use it as well to build your own Ubuntu-based distribution.
You are mostly on your own, however, if you go with this path. You may ask for help you need in the Linux and open-source communities, but you will be directing the steward of your ship if go through this route and you should have enough experience to do so.
Testing the Distribution
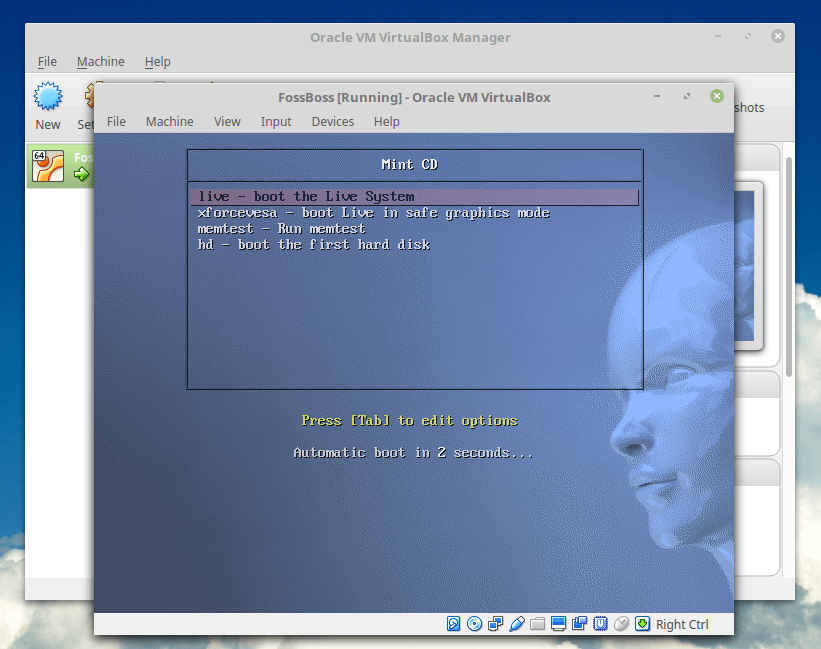
Regardless of the build method that you use to build your custom Linux distribution, you should test it before you release it to the world.
You can easily test your generated ISO files using QEMU in no time.
You may also use VirtualBox if you like:
sudo apt install virtualbox virtualbox-qt
And then just select your ISO file as a boot option for the virtual machine you create using the program.
A Small History About This Guide
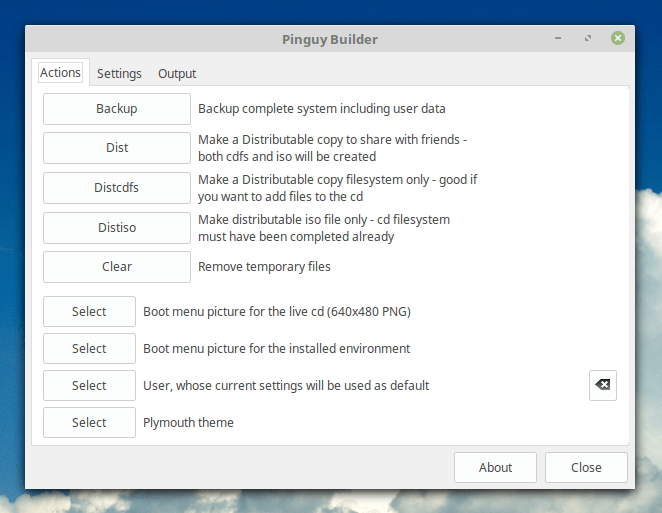
Originally published in 2016 since the launch of our website, this guide used to feature tools like Remastersys, Pinguy Builder and Ubuntu Customization Kit, all of which are no longer maintained.
I have been in the Linux distribution building landscape since 2010, and followed the development of these tools closely. I myself built my first Linux distribution when I was 12 years old, and today I am a Master’s graduate 🙂
Remastersys remained the de-facto way to build Ubuntu-based distributions from 2008 and all the way until 2014 when it was discontinued. The developer, however, in a bitter frustration towards the community that did not appreciate his efforts despite using his software en masse, refused to release the source code of the latest Remastersys version, and asked for either $50 or $150 to release it (I can’t remember exactly).
Developers of the Pinguy OS distribution at that time (which in turn was discontinued in 2019), took the latest available version of the software and modified it, fixed its bugs, and released it under the “Pinguy Builder” name. The software is still available to download as of this moment.
Remastersys and Pinguy Builder remained the common ways to build Ubuntu-based distributions by hobbyists until they no longer worked. During that time, a short-lived fork called “LinuxRespin” also appeared from the Remastersys codebase.
A few years later, Cubic was born to solve the problem.
Advanced users in the 2010s period used what was known as “Ubuntu Customization Kit” software to build Ubuntu-based distributions “on the hard way”. Sadly, that one is also discontinued.
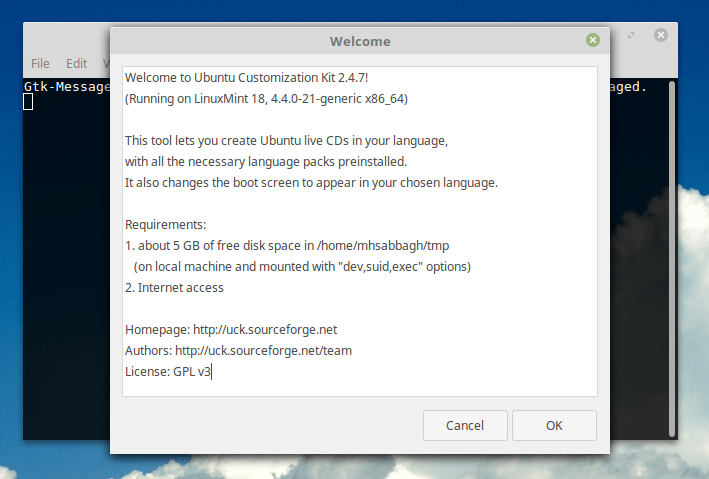
Up to 2024, we have updated every part of the article to reflect the current landscape of the dynamics of building Ubuntu-based distributions. Still, we feel a strong nostalgia feeling and appreciation for all those developers who provided these early tools.
Keep that in mind when you are building your own custom Linux distro. You are building on the shoulders of giants! 🙂
Conclusion
There are a lot of ways to build a customized Linux distribution based on Ubuntu, and you may choose any one of them that fits your needs. But don’t forget testing; it’s a very important step to ensure that your system is error-free and working well on any hardware that a user may have.
Once you have generated your own custom Linux distribution, you can share it with the world by uploading it to places like SourceForge.
Have you ever built a distribution before? Tell us about your experience in the comments below, and you may share a download link with us as well to take a look at it!
Hanny is a computer science & engineering graduate with a master degree, and an open source software developer. He has created a lot of open source programs over the years, and maintains separate online platforms for promoting open source in his local communities.
Hanny is the founder of FOSS Post.
