Installing Android 6.0 Marshmallow on Linux may be the quest of many of you if you want to run your favorite applications and games while you are still using Linux operating system. In this tutorial we’ll explain how to do that in a few easy steps.
Android Marshmallow is the latest official release from Google for smartphones working with the Android system, it was released in December 9, 2015, it came with a lot of new features like new design, better navigation and a lot more.
Android x86 is a project that aims to port the Android system to work on desktop computers, the developers behind this project simply take the original open source Android code and modify it to work on laptops and PCs, it’s a great project actually and they are doing it for free. Recently they have joined the forces with Remix OS to work together on porting Android.
What we will do today is we’ll create a virtual image emulator using QEMU on our Linux system, and then we’ll install the latest Android 6.0 Marshmallow on Linux in order to be able to run our favorite applications and games.
Table of Contents:
Step 1: Prepare QEMU
QEMU is a free and open source software emulator for the Linux desktop, it’s just like VirtualBox and VMware, however it doesn’t create you a complete virtual machine; it can be used to create an image file and then emulate the operating system or distribution you want to run it and then install it on the created image file, it’s very simple and easy to use.
You can check our tutorial about installing and configuring QEMU to emulate the operating system we need.
However if you are on a hurry, you can run the following command to install QEMU on Ubuntu:
sudo apt install qemu qemu-kvm libvirt-bin
Or Fedora:
sudo dnf install qemu qemu-kvm
After installing QEMU, we can now create an image file; it’s a special file that will contain all our installed files and data for Android 6.0 after installation, you can relate it to a virtual hard drive.
Use the following command to create a 10GB image file (You can change the size if you want but make sure it’s enough):
qemu-img create -f qcow2 android-marshmallow.img 10G
You will notice that a small file was created in your home folder, it won’t be 10GB in size, but QEMU will set its maximum possible size up to 10GB only, this is to save unnecessary used disk space.
If you don’t like to use QEMU, you can use VirtualBox, it’s a complete virtual machine solution with the GUI included:
sudo apt install virtualbox virtualbox-qt
Step 2: Download Android 6.0 Marshmallow for x86
Now we can go ahead and download the latest stable release of Android 6.0 for the x86 architecture. You can just simply visit the download page of the Android x86 project and download whatever release you want.
There are 2 main files here:
- Android-x86 6.0: This is the vanilla android 6.0 Marshmallow released ported to the x86 and x86_64 architectures.
- Android-x86 6.0 Remix OS: This is a modified ISO file done by the Remix OS project, it contains some improvements and special customization, but it’s almost double in size.
In this tutorial we’ll use the vanilla Android 6.0 images.
Important: At the time of writing this article, the x86 project released the release candidate 2 version of Android 6.0, It’s not the final version yet, so you have to check the official download page for latest release and then replace the name of the file android-x86_64-6.0-rc2.iso with the file you downloaded.
Step 3: Start Installing Android 6.0 Marshmallow on Linux
– Now after you have downloaded the release you want successfully, we can start running it on QEMU in order to achieve our goal, if your downloaded ISO file was for the 64-bit architecture, run the following command:
qemu-system-x86_64 -m 2048 -boot d -enable-kvm -smp 3 -net nic -net user -hda android-marshmallow.img -cdrom /home/mhsabbagh/android-x86_64-6.0-rc2.iso
If it was for the 32-bit architecture, run the following command:
qemu-system-i386 -m 2048 -boot d -enable-kvm -smp 3 -net nic -net user -hda android-marshmallow.img -cdrom /home/mhsabbagh/android-x86_64-6.0-rc2.iso
Don’t forget to replace /home/mhsabbagh/android-x86_64-6.0-rc2.iso with the path and name of the downloaded ISO image. Also make sure you are in the same folder where android-marshmallow.img is located.
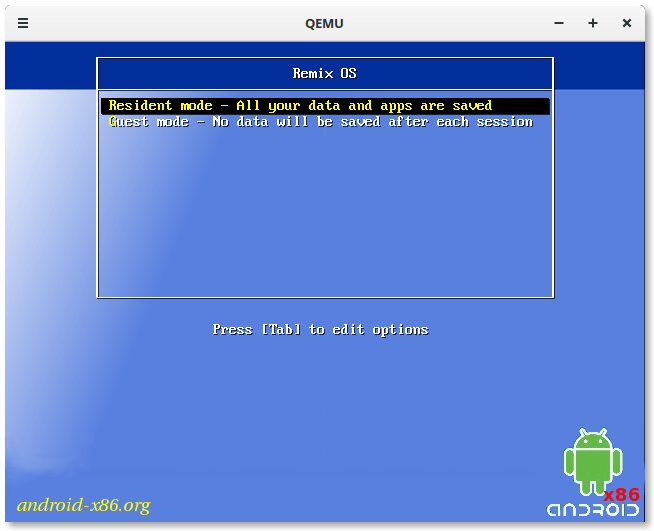
– After you run one of the 2 previous commands, you will see that QEMU window has started:

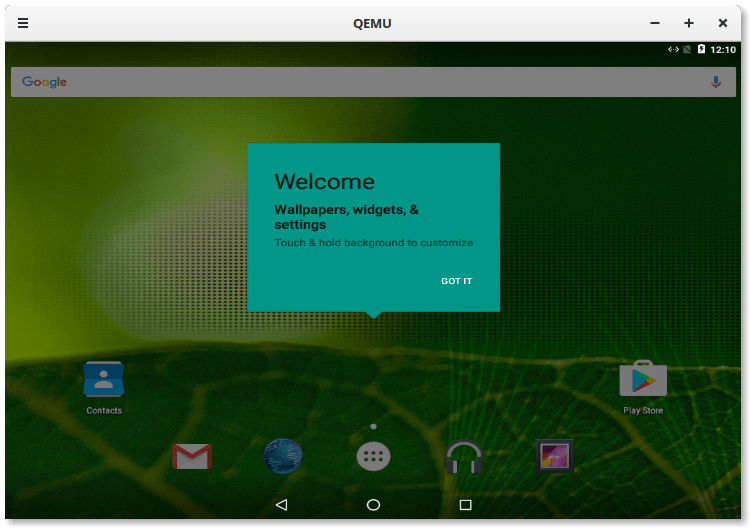
– If you want for now, you can try Android 6.0 without installing, just choose the first option and then it will load for you:
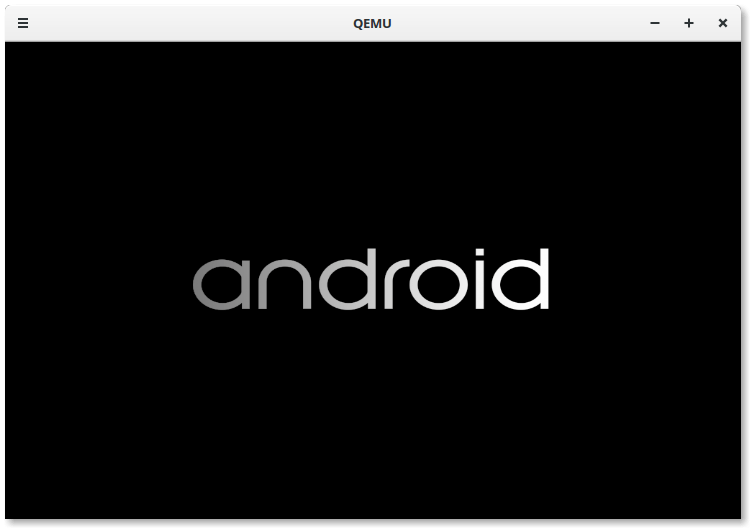
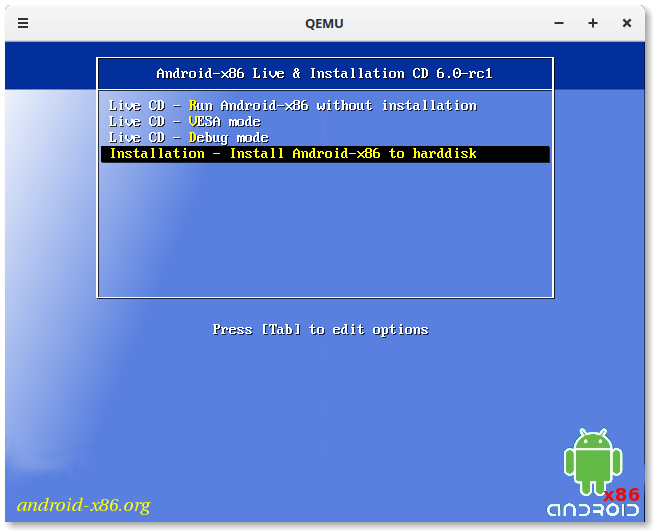
– After you are done exploring, close the QEMU window and run it again and this time, choose the last option to start the setup:
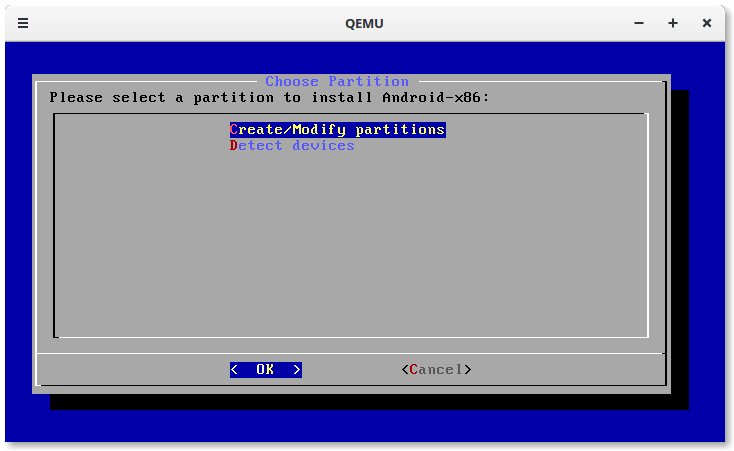
– Then you will be taken to the following window, choose the first option:
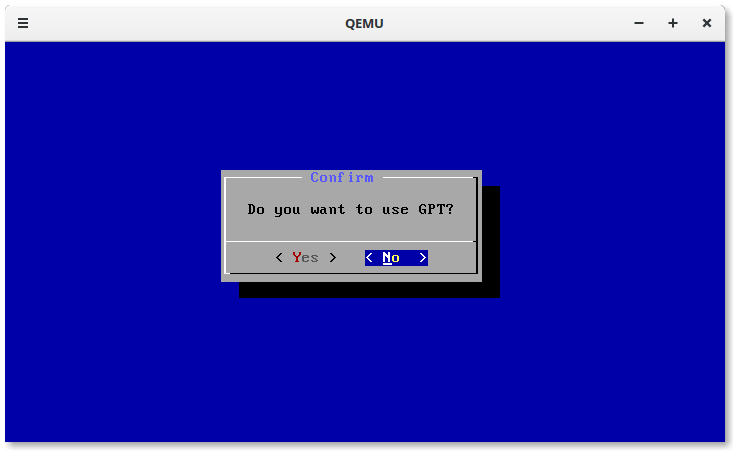
– It will ask you if you want to use GPT or not (MBR), select “No”:
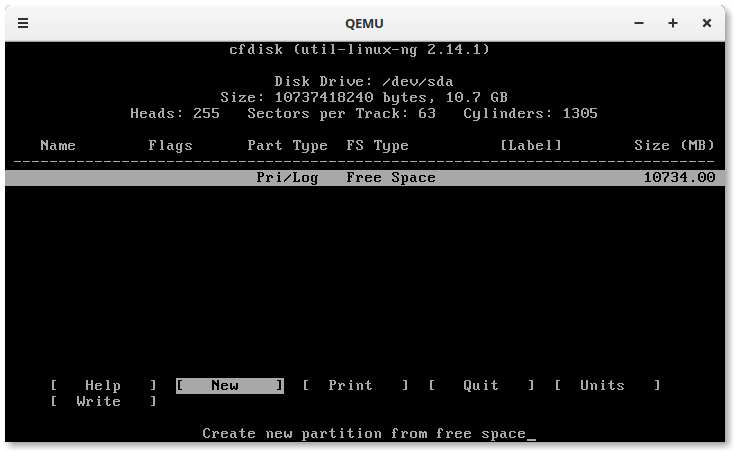
– Now it will transfer you to the cgdisk window in order to modify or create partitions, From this window you will have to create a new partition in order to install Android 6.0 Marshmallow on it:

– Click on the “new” button as you can see in order to create the new partition:
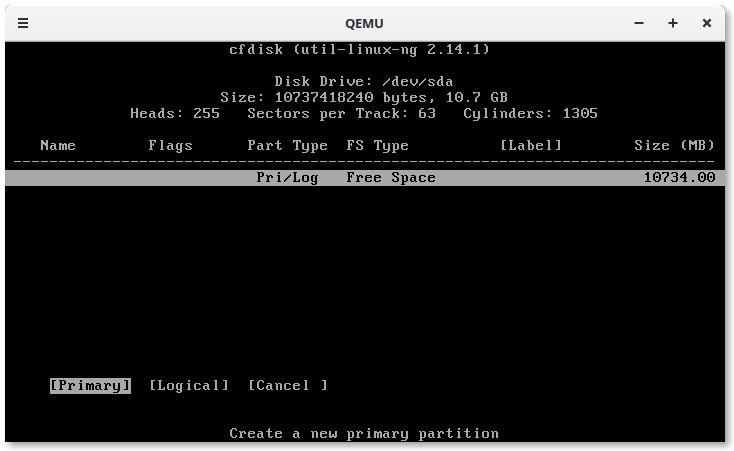
– It will ask you if you want your new partition to be primary or logical, choose “primary”:
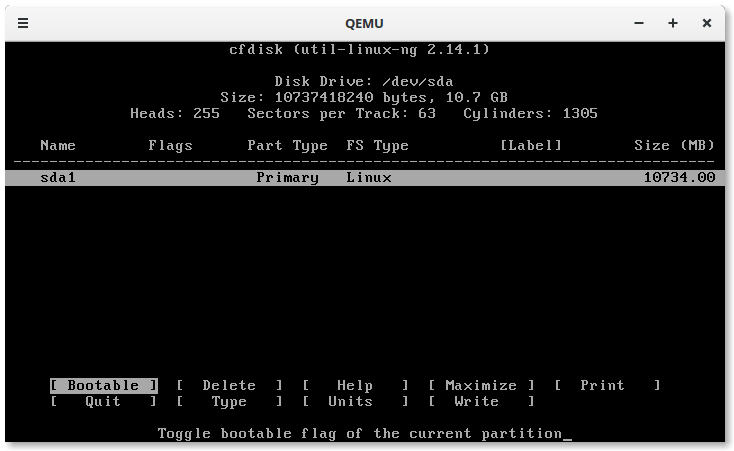
– Then you can specify the disk size you want for the new hard drive, leave it blank to use maximum and hit Enter:
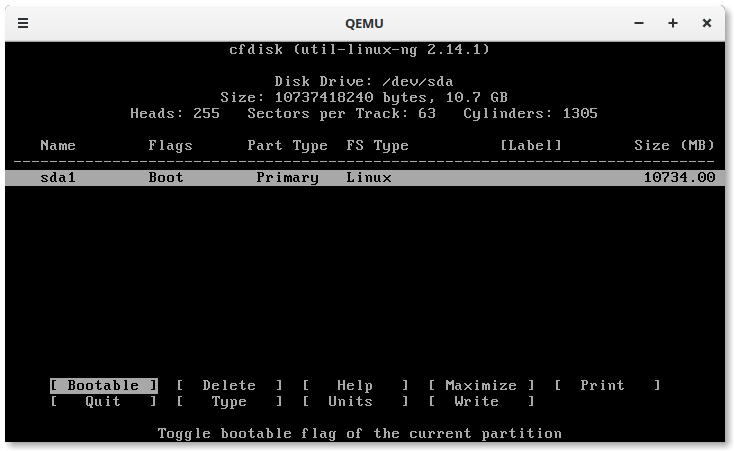
 – The new partition will be created, however we have to make it bootable by adding the “bootable” flag to it in order to be able to start it later after the installation, just hit the “Bootable” button using the Enter key to do this:
– You will notice that it was flagged as “boot” now:
– Now move using the arrows keys and hit the “write” button to write the changes to disk:


– And then quit, you will be redirected back to this window, choose your new created partition:
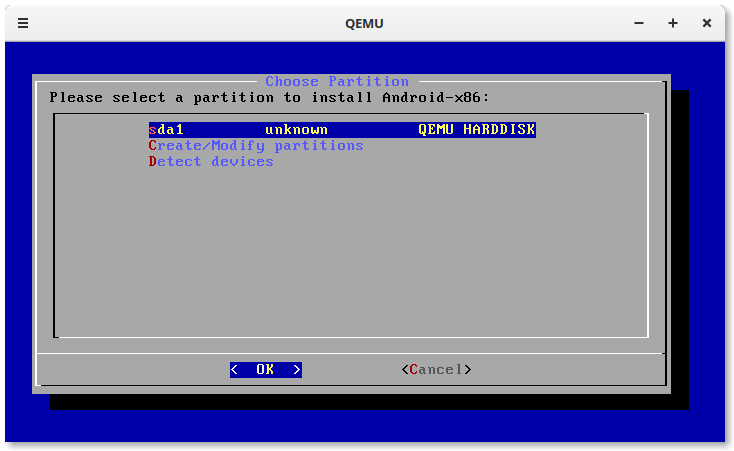
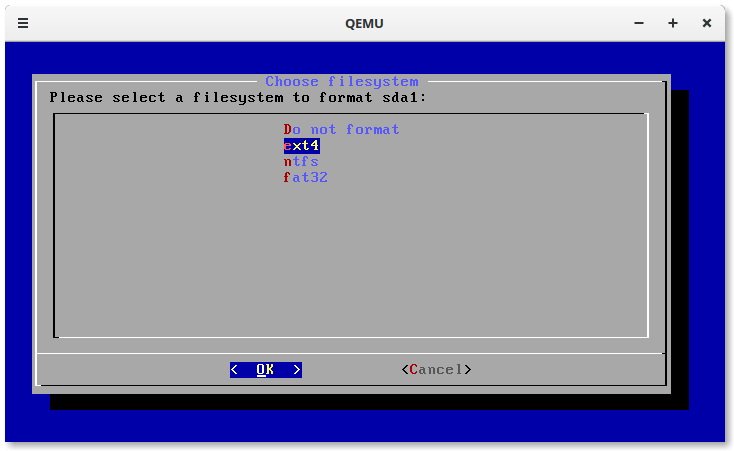
– You now have to choose the filesystem type, choose ext4:
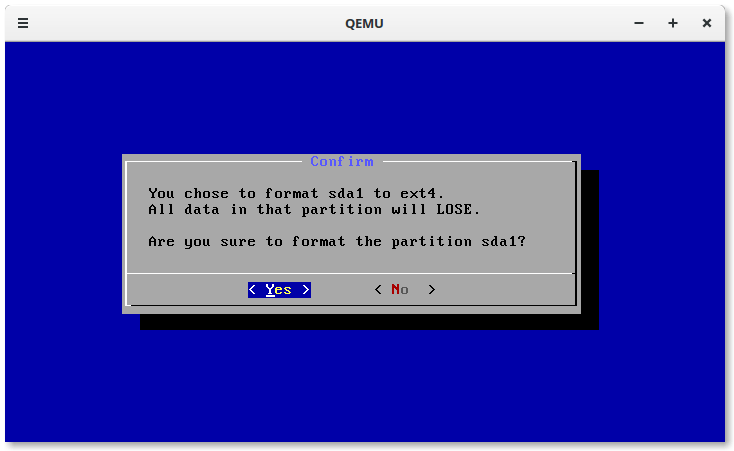
– It will ask you for a confirmation, click yes:
– Then it will ask you if you want to install the GRUB bootloader, also select yes:
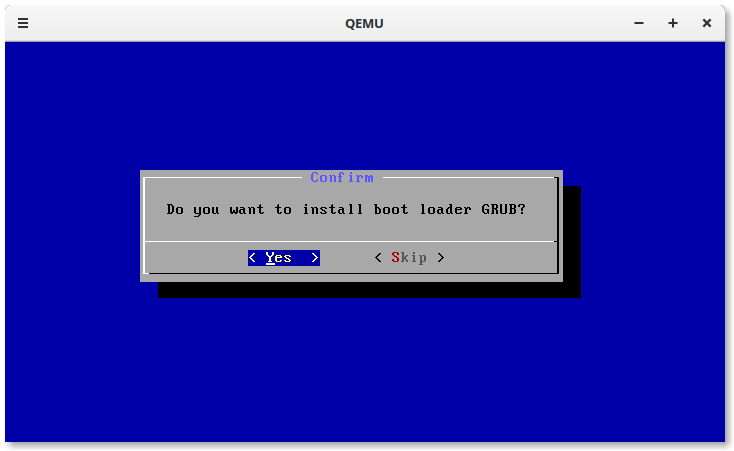
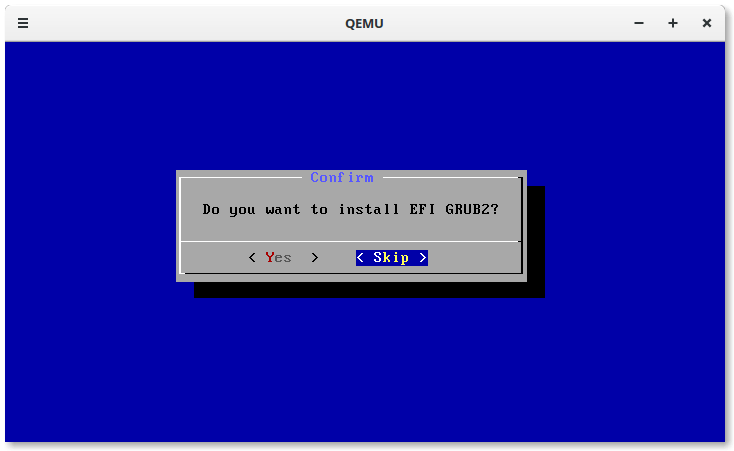
– But it will ask you also if you want to setup an EFI GRUB bootloader, select “Skip”:
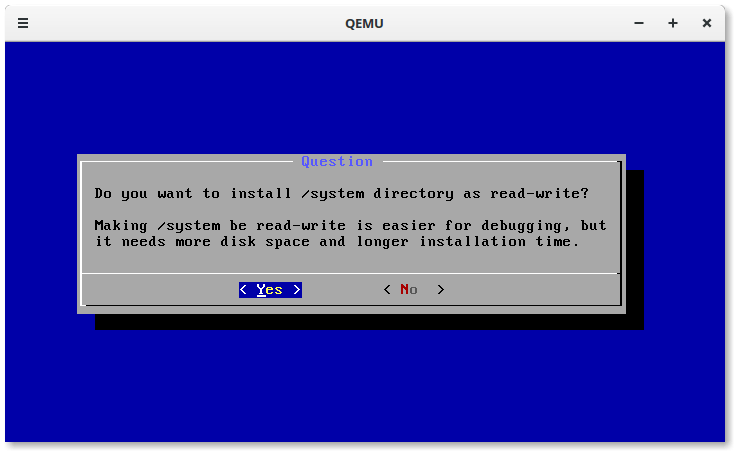
– Finally, it will ask you if you want to install the /system directory with read / write permissions, also choose yes:
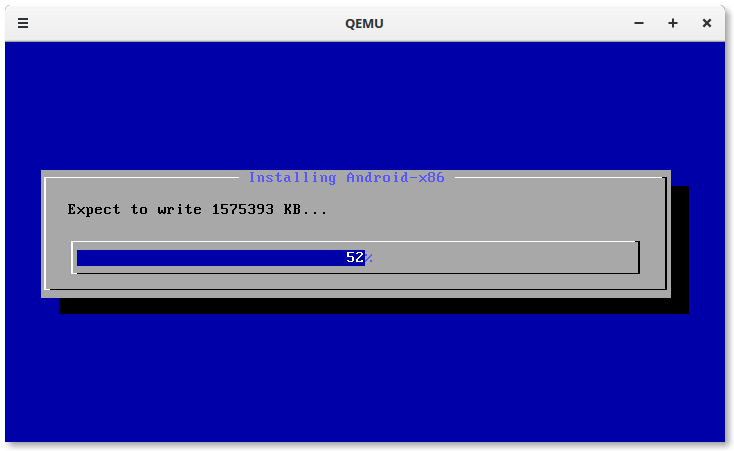
– Now wait while the installation is complete:
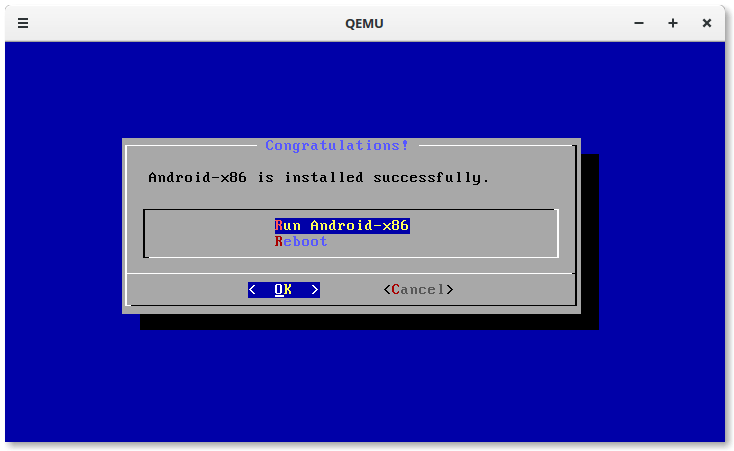
– After it’s done, you can choose whether to reboot or start using Android, here actually you have to choose none of those options, just close the QEMU window without doing anything, the installation is done completely so far:
Running Android 6.0 Marshmallow on Linux
Now if you want to start using Android 6.0 from the installed system on the image file using QEMU, you can simply run the same QEMU commands again, just make sure to remove the -cdrom xxxxxx option from its end in order to boot up from the local image file:
qemu-system-x86_64 -m 2048 -boot d -enable-kvm -smp 3 -net nic -net user -hda android-marshmallow.img
Or if you downloaded the 32-bit image:
qemu-system-i386 -m 2048 -boot d -enable-kvm -smp 3 -net nic -net user -hda android-marshmallow.img
You will see the GRUB bootloader waiting for you:
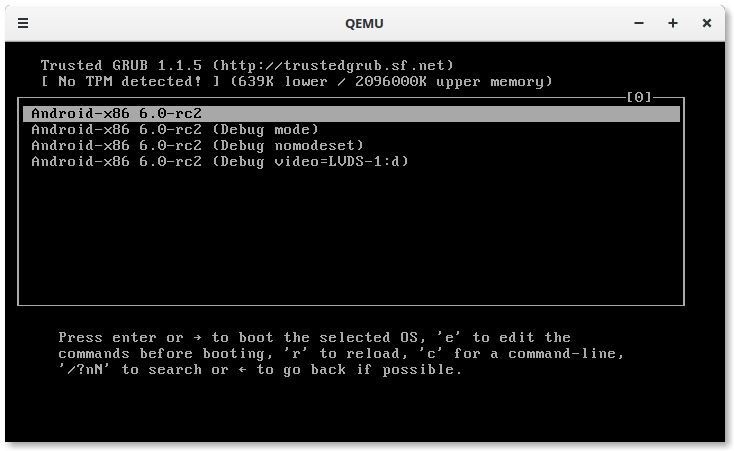
– The first after-installation wizard will start, choose your language and continue:

– It will ask you for choosing a Wi-fi network, we don’t need it since we already have internet using QEMU and the inet interface, so you can just simply click “Skip”:

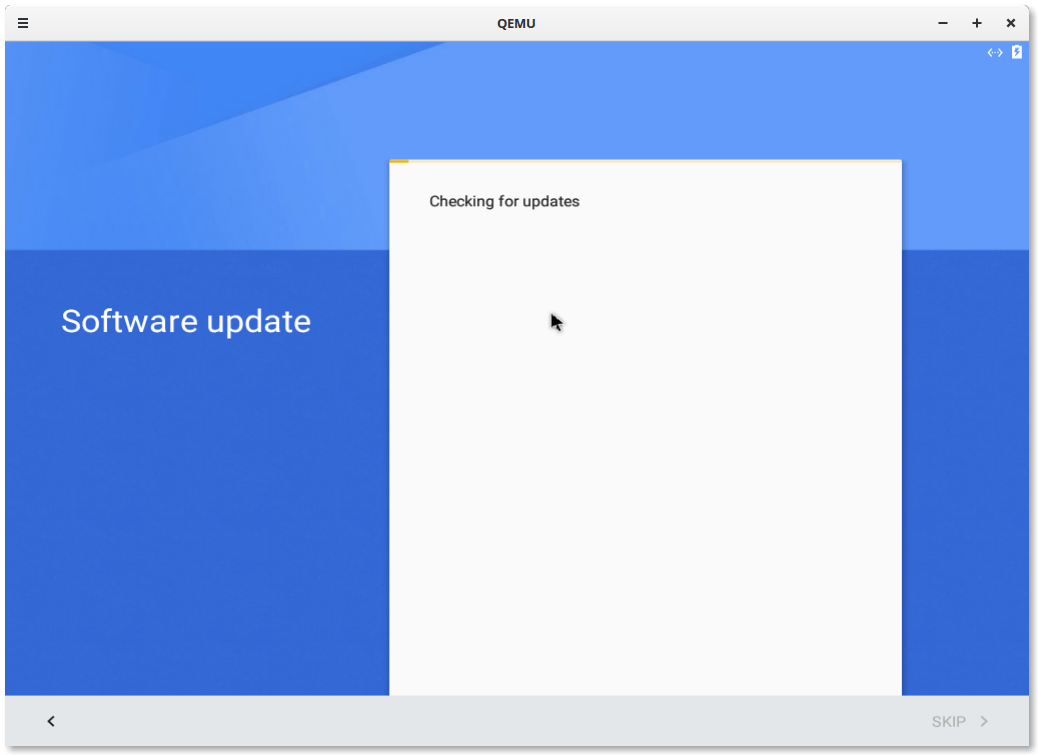
– Then it will check for some updates:
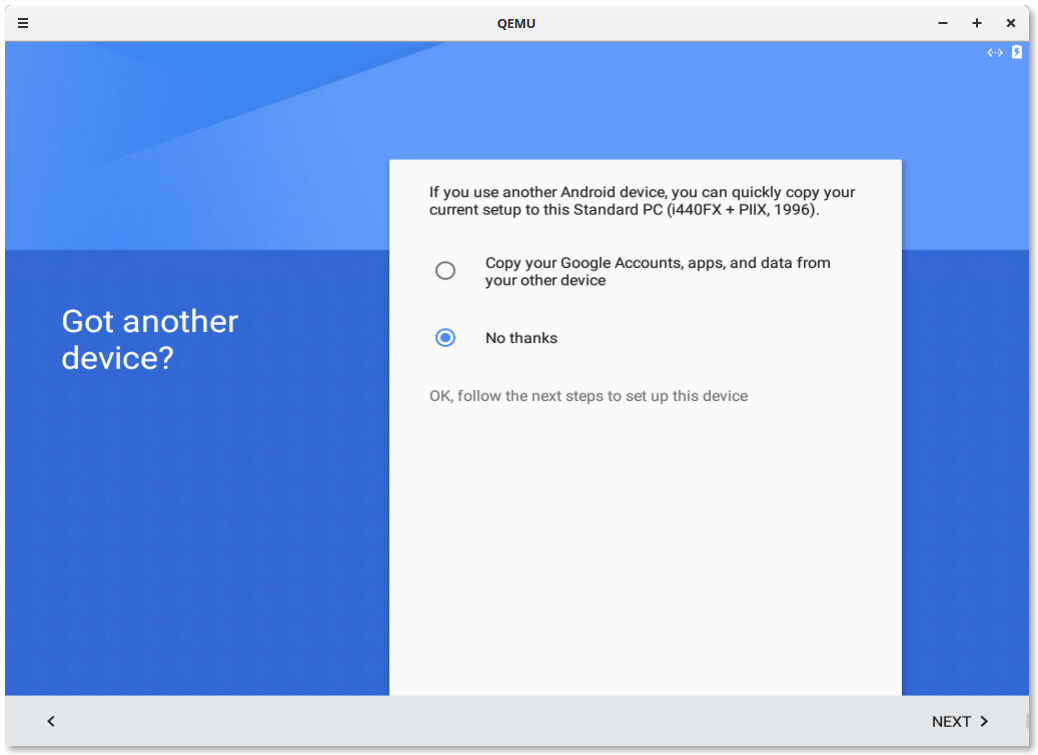
– It will ask you if you want to copy your data from another device, you can skip this for now:
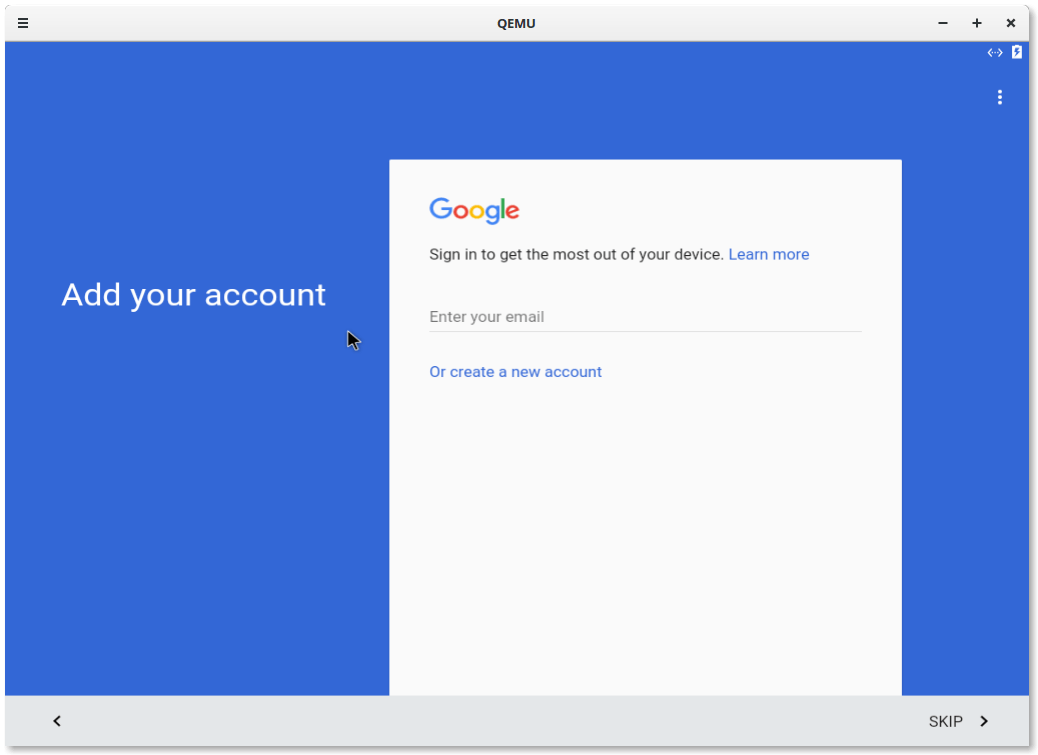
– Now you will have to enter your Google username and password, actually you can skip this step for now but you won’t be able to use Google services, like Google Play, so entering those data is a good option:
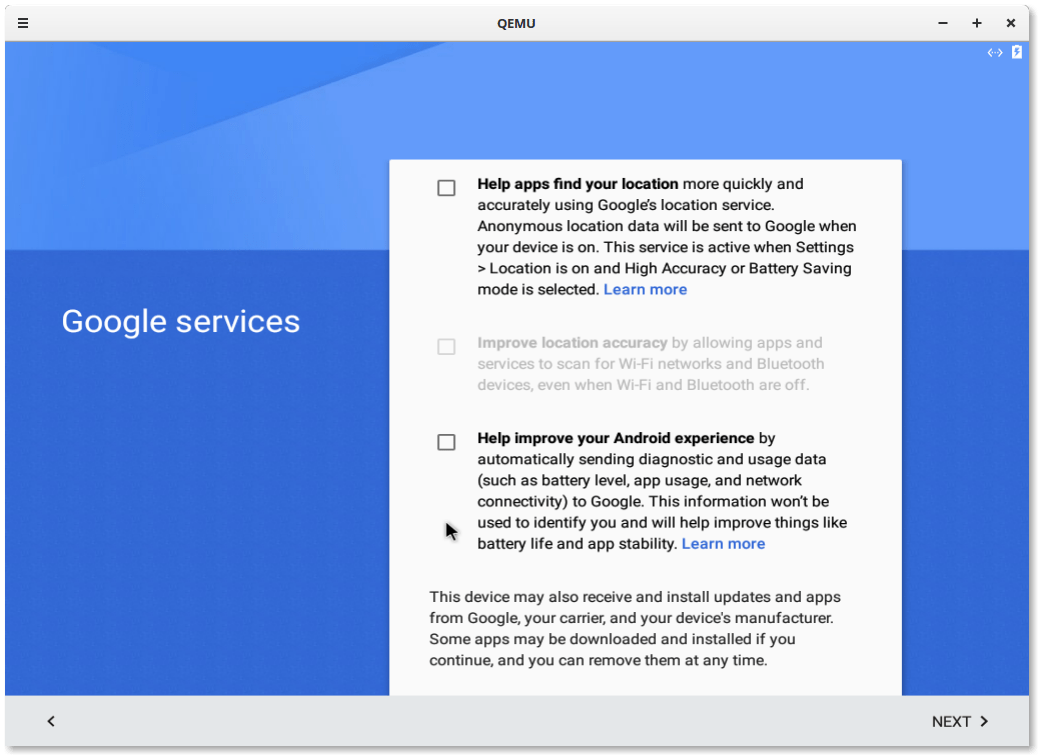
– You can also enter your payment information from now if you want, since I am poor, I will skip it myself 🙁

– Later, you will be yielded to enter the date and timezone:
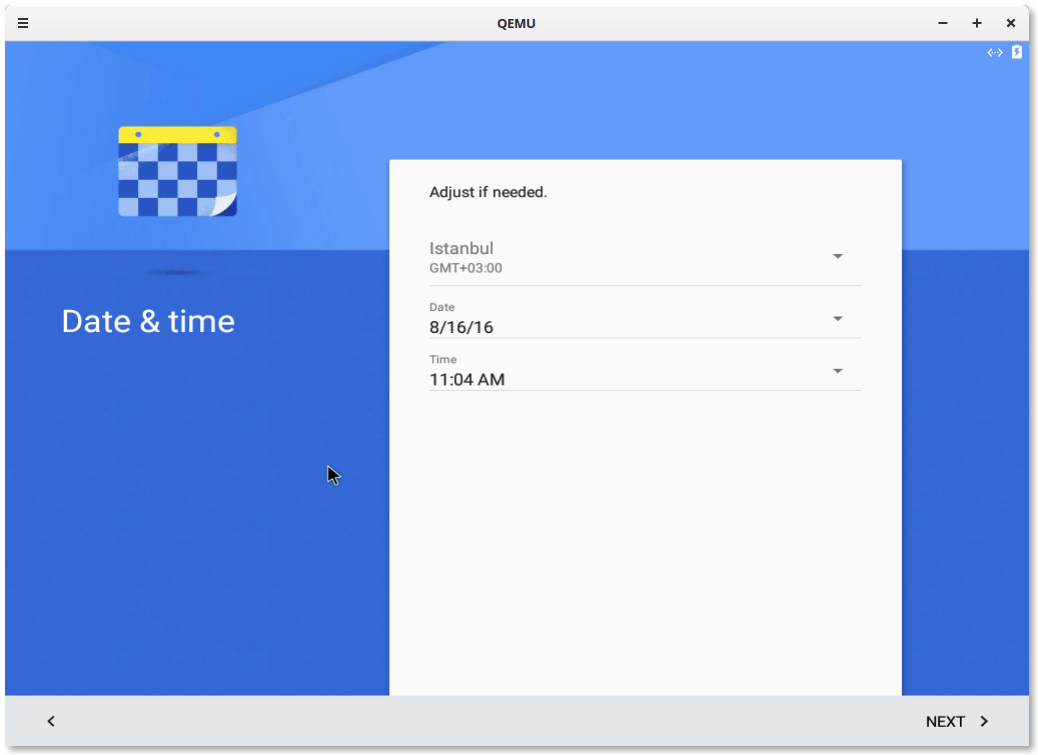
– And link other accounts and emails if you want:

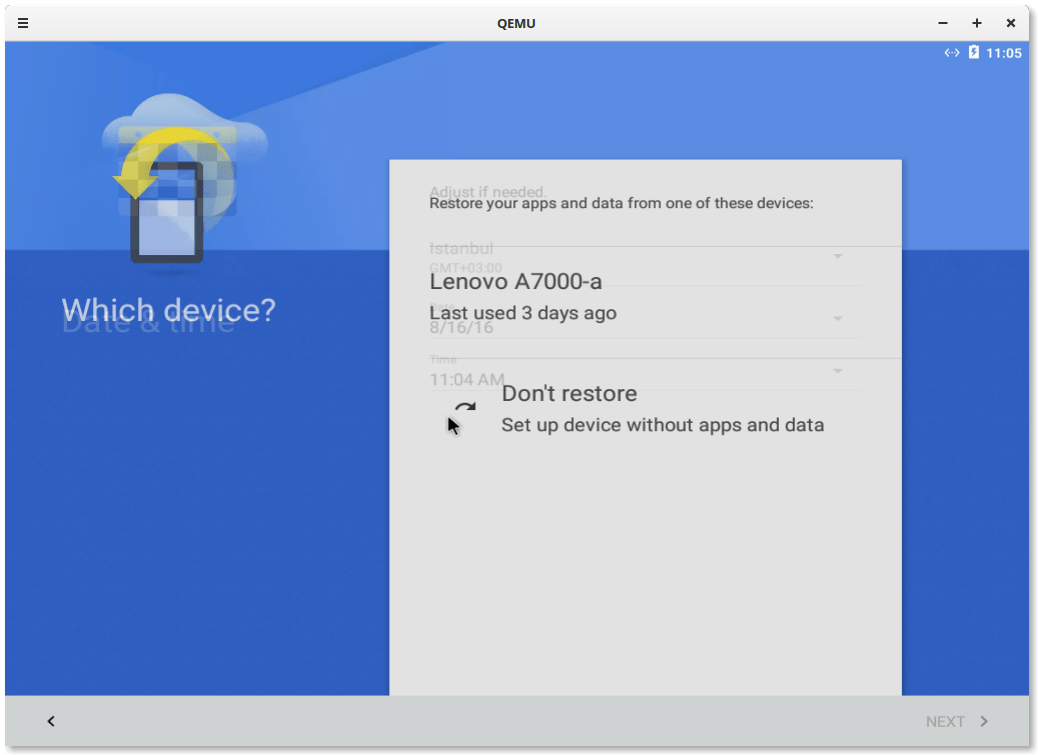
– You can also choose to download the applications and data from your other devices too:
– Finally, your home screen will start, you can choose whether you want to help the x86 project’s developers or not:
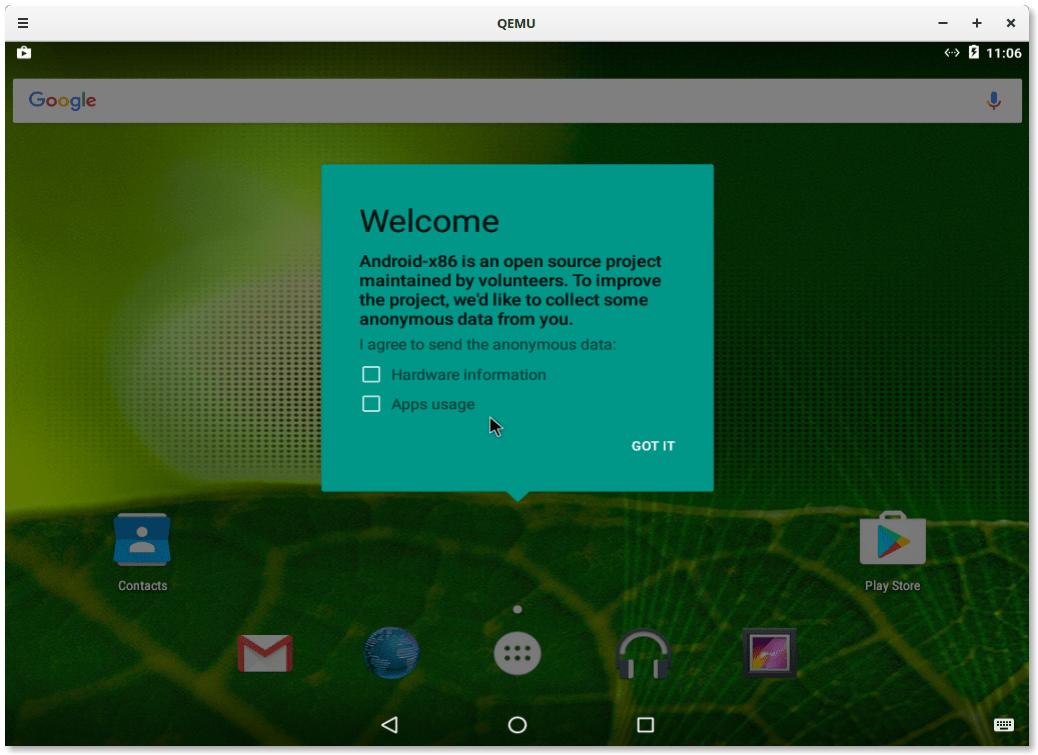
– And Congratulations! You can now start using Android 6.0 Marshmallow on Linux using QEMU to install your favorite apps and games! Feel free to browse around and download whatever programs you may like:

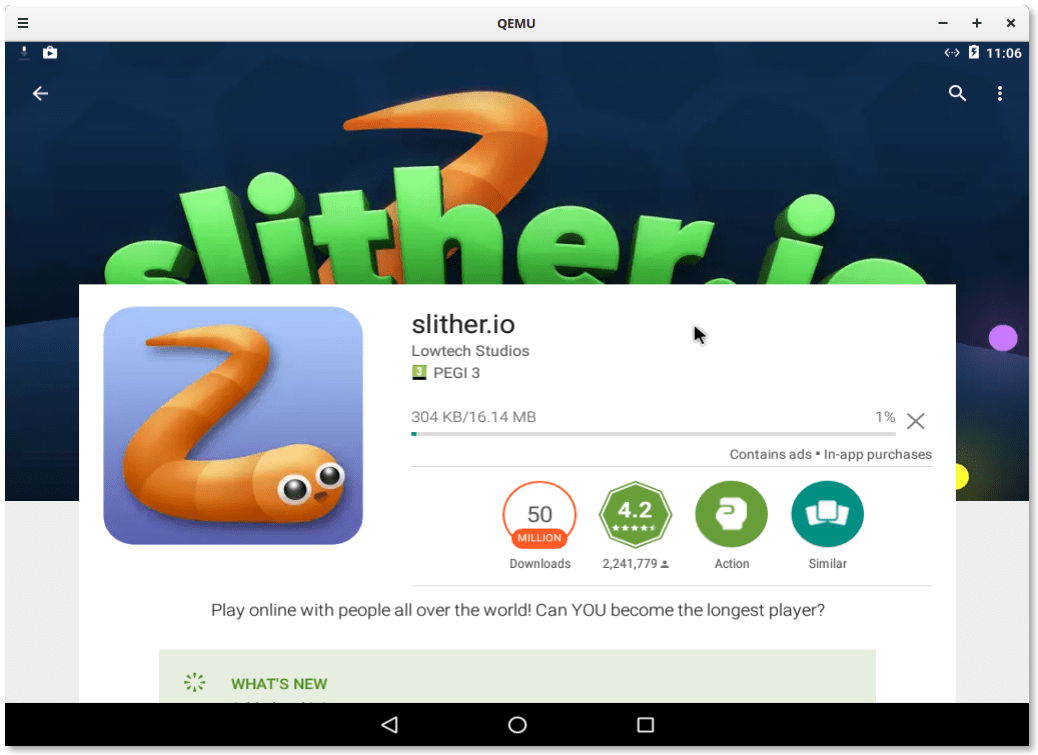
Step 4: Starting Android 6.0 Later Whenever Needed
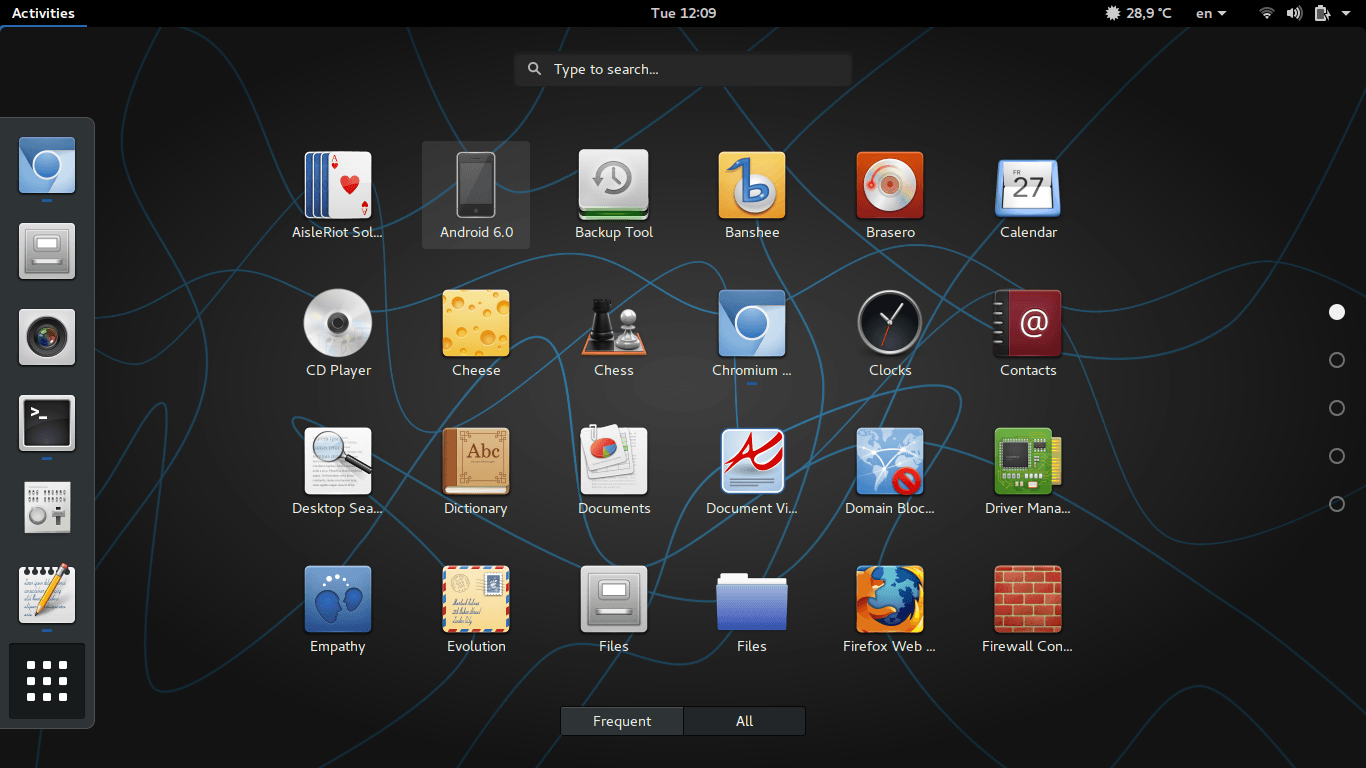
If you don’t like using the terminal and the command line interface each time you want to start Android, then you can simply create a .desktop file under /usr/share/applications in order to make it a launchable program from the applications menu. Run the following command to create an android-6.0.desktop file in that directory:
sudo nano /usr/share/applications/android-6.0.desktop
And put the following content inside:
[Desktop Entry]
Name=Android 6.0
Comment=Run Android 6.0 Marshmallow on Linux using QEMU
Icon=phone
Exec=qemu-system-x86_64 -m 2048 -boot d -enable-kvm -smp 3 -net nic -net user -hda /home/mhsabbagh/android-marshmallow.img
Terminal=false
Type=Application
StartupNotify=true
Categories=GTK;
Replace the Exec value with the command that fits your situation from the previous QEMU commands and make sure to use the absolute path for the android-marshmallow.img (like /home/test/android-marshmallow.img). Save the file and exit (on Nano, click Ctrl + X).
Now you can launch Android 6.0 whenever you want from the applications menu:
Conclusion
Installing Android 6.0 Marshmallow on Linux is very easy actually, it doesn’t take a lot of time and effort, after you install it, you will able to run whatever games or mobile apps you want easily on your Linux desktop without the need to use any other 3rd-party software, thanks to the x86 project.
For further reading, we recommend checking the official documentation.
Hanny is a computer science & engineering graduate with a master degree, and an open source software developer. He has created a lot of open source programs over the years, and maintains separate online platforms for promoting open source in his local communities.
Hanny is the founder of FOSS Post.

