Creating a Linux distribution may be a quest that many people want to archive; whether to share it with friends and family or to install it on work and university machines, or even to use it as a backup archive.
There are many ways to do this and it differs from the base distribution you are using, the way to create a Linux distribution based on Ubuntu is different from the way you would use to create a distribution based on openSUSE, and so on.
First, you have to specify the base distribution you want to use, after you do that, you can go ahead and start working on creating your project.
In this article, we’ll explain how to create a Linux distribution based on SUSE/openSUSE distribution.
SUSE Studio
The easiest yet most functional method to create a Linux distribution is to use SUSE Studio. Hundreds of people are using it to do the job every week, it’s an amazing service actually.
SUSE Studio is an online website service that allows you to create your distro based on SUSE or openSUSE in a few clicks, just create an account, select the base distribution you want to use and then start customizing it and selecting the software you want to include, and finally, build the ISO files and download it to your computer, it’s that easy!
We’ll explain how to do it step by step:
- Head to SUSE Studio website, login or create a new account in order to be able to use the service (You can use your social networks account if you want), activiate your account and then head back to the main page.
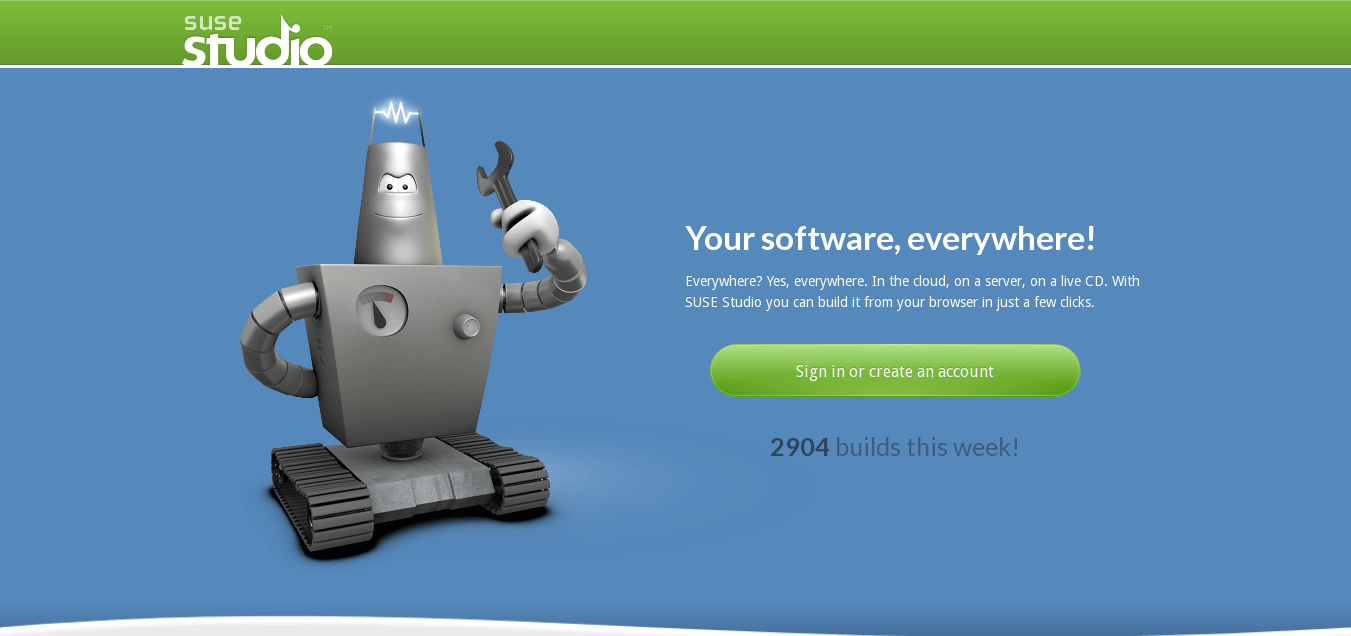
- What you will see is something like this:

SUSE Studio Main Page - Click on the “Create new appliance” button, then you will be redirected to the part where you should choose your base distribution you want to use, write the name of the distribution and click on the “Create appliance” button at the end:
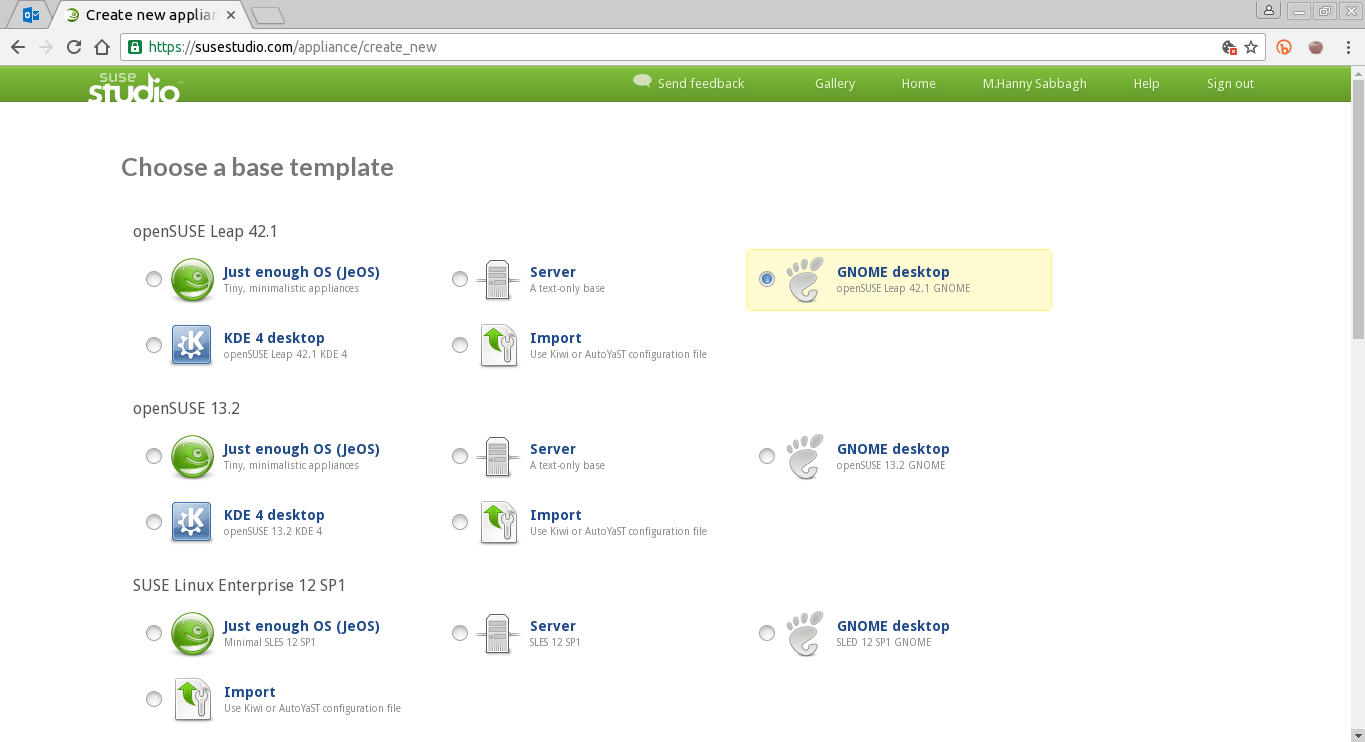
SUSE Studio Choosing A Distribution We recommend selecting the openSUSE 42.1 distribution, in GNOME or KDE desktops as a base for your appliance because they already include the most important packages and configuration by default.
- Then, your appliance will be created for you, you will be redirected to its main page right now:
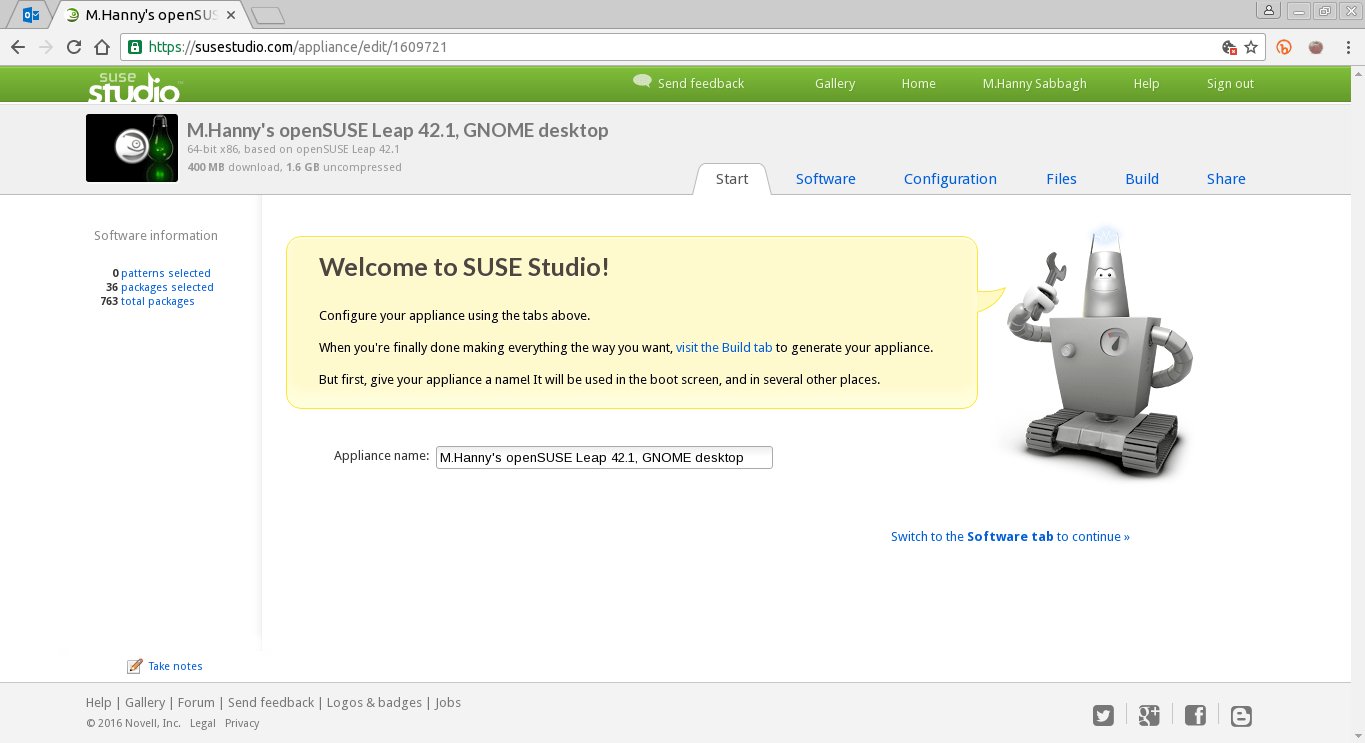
SUSE Studio Distribution Main Page - Now you can start working! Move between the available tabs to choose the software and customizations you want for your distribution, you can change everything; from the default available applications and repositories, to the look and feel and passing by some special files and scripts you want to run, and ending by the customizations and options to use while building.
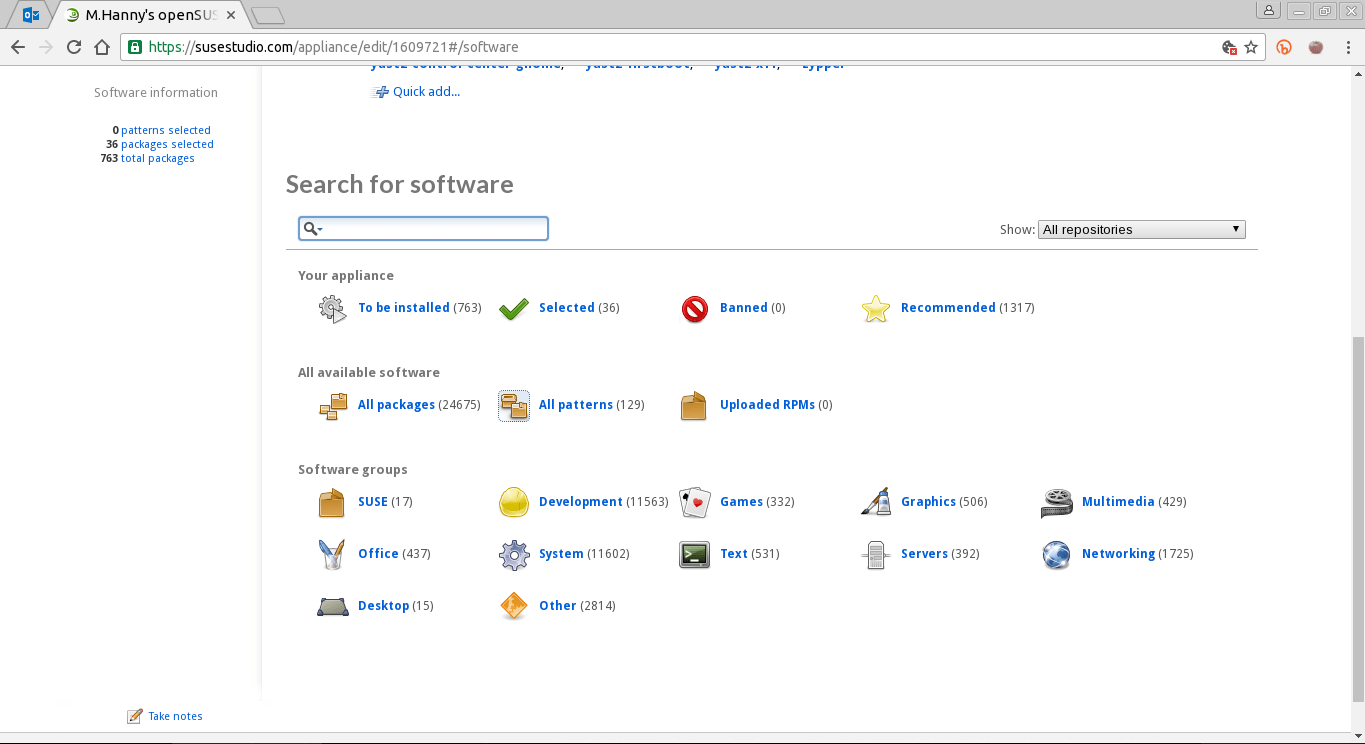
- For example, head to the software tab, you will see a place where you can browse and search for the available packages to select them if you want them to be in your appliance by default:
SUSE Studio Software Tab - You can also switch to the configuration tab in order to adjust the settings of your system, we recommend choosing the option “Use Network Manager to configure the network at run-time” in order to get a better network support:
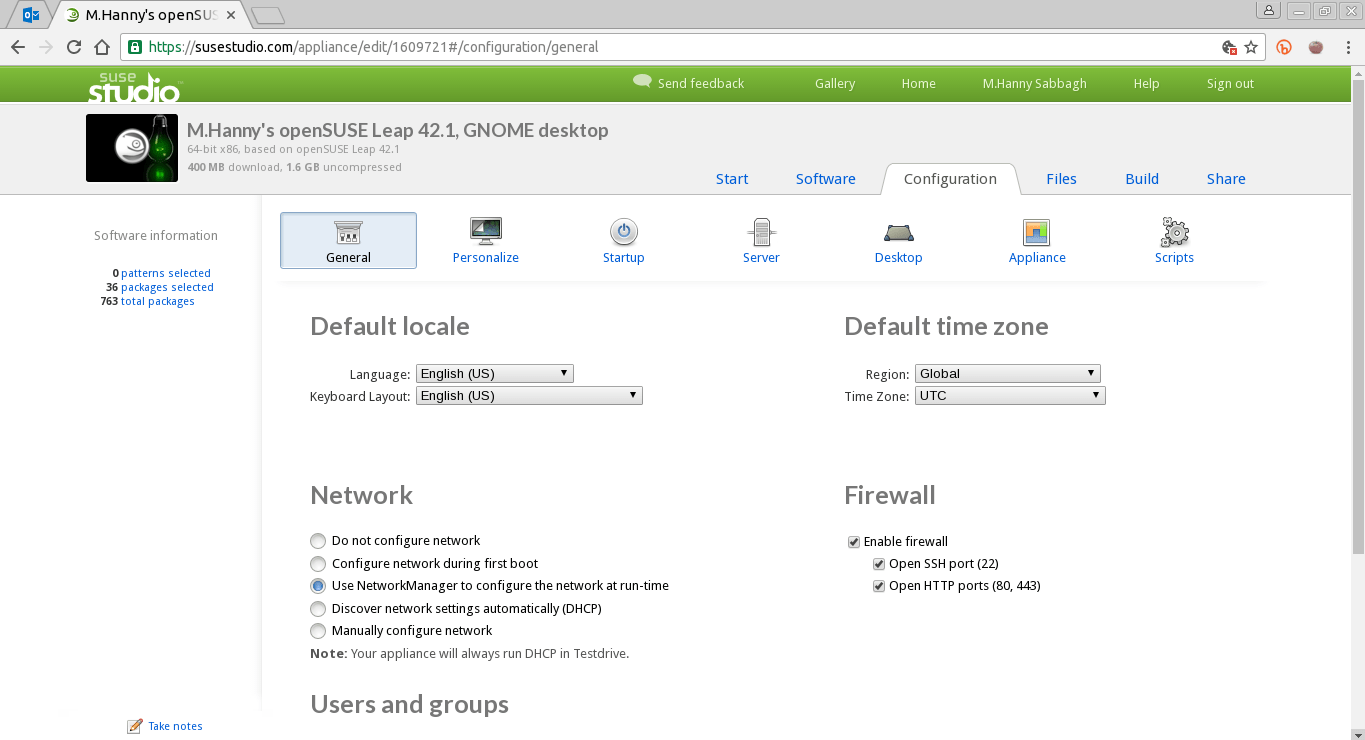
SUSE Studio Configuration Tab -
You can also browse the “Files” tab, if you want some specific files to be uploaded to your distribution by default to some folder, you can do this here:
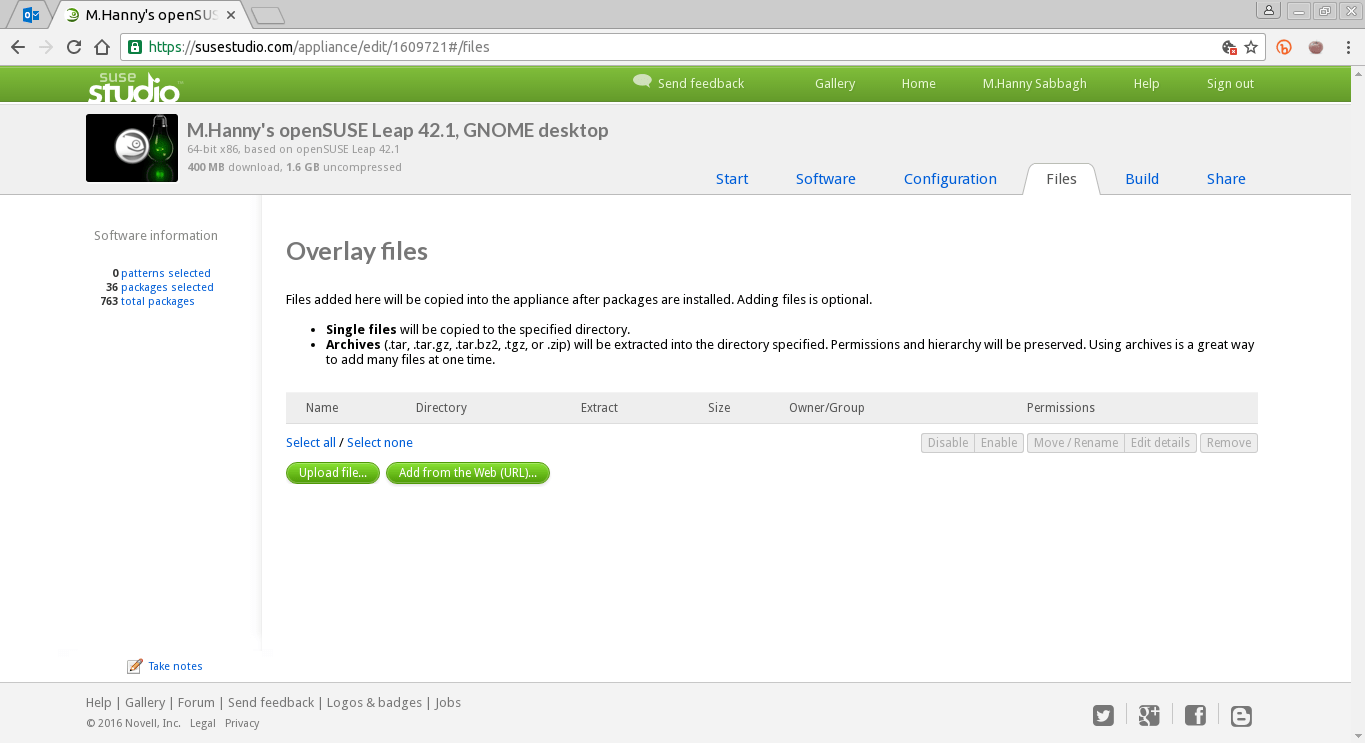
SUSE Studio Files Tab - And finally, after you finish adding software and adjusting the settings you need, you can swtich to the build tab in order to start building the ISO file, you can learn here the correct format to choose:
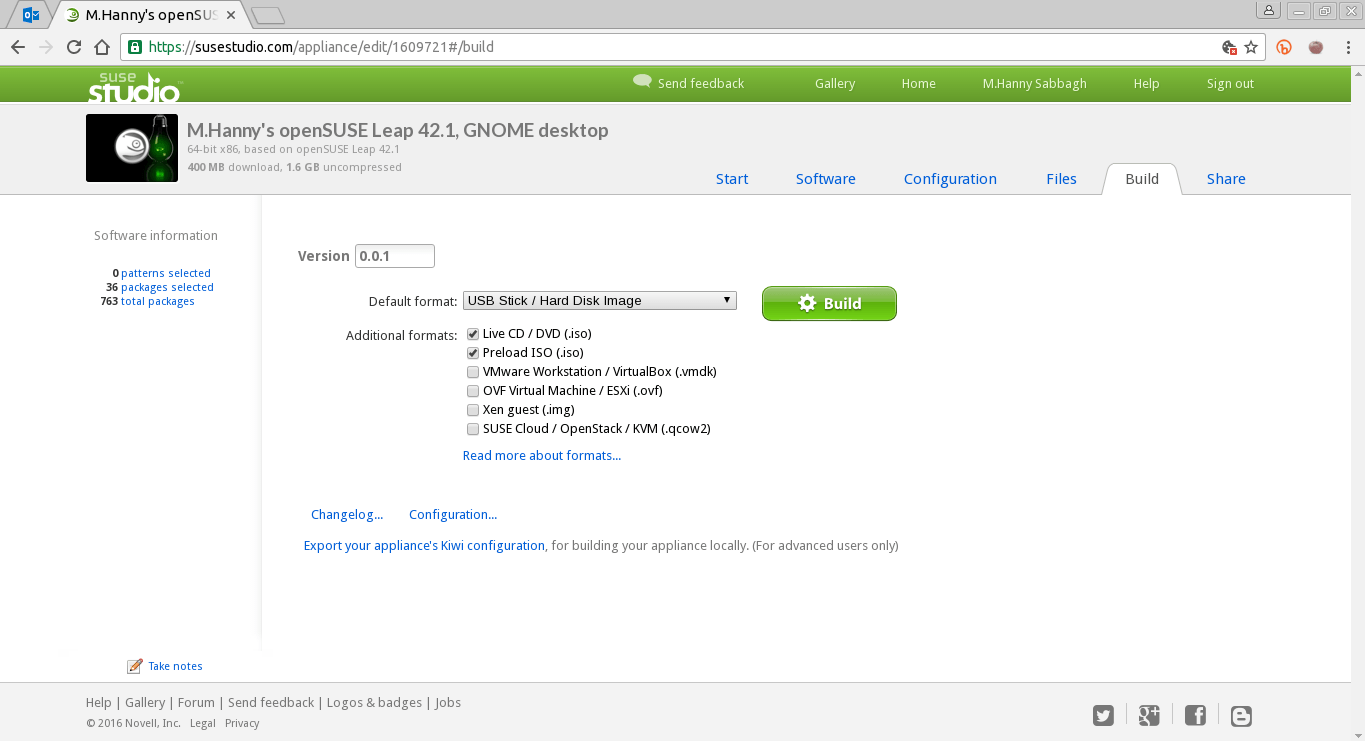
SUSE Studio Build Tab - After the build is finished, you can choose to make your project public in order to allow other people to download it from the “Share” tab, Warning: If you don’t do this, your already built ISO files will be removed after 7 days (Your project will stay available and you can build the ISO images at any time later).
And that’s it.. You know have successfully created your first Linux distribution 🙂
Kiwi
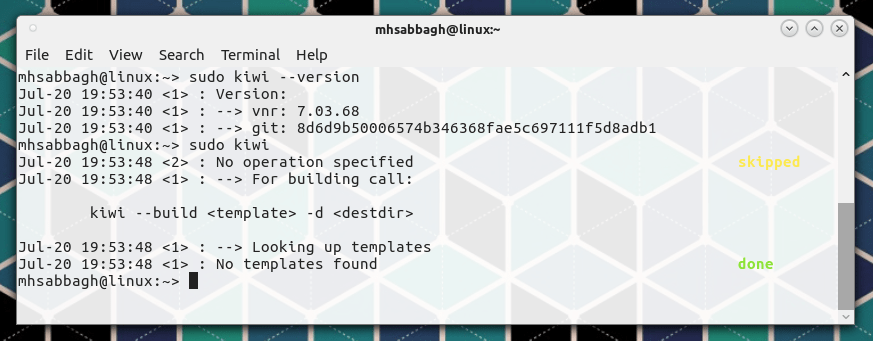
Another approach that SUSE/openSUSE distribution offers to use to build a modified based distribution is to use Kiwi; Kiwi is an open-source tool developed by SUSE engineers to build images for the SUSE Linux products. It was written in Perl.
Kiwi is a CLI-based program (it doesn’t offer a graphical user interface) and it allows you to build your distribution in many formats and configurations locally on your running SUSE/openSUSE system.
First it prepares a local file-system tree using the requested configuration files and software, then in the second step, it builds this file-system converting it to the format you want (Like .ISO). It uses an image description file called “config.xml” that contains almost all needed information to build the file-system, it supports all SUSE’ian distributions.
The process of using Kiwi is a bit hard and long; you have to write the description file and a lot of other files, then you will have to download all the system packages again (or use a local repo) to build the file-system tree, and finally wait Kiwi to build the images for you.
For further reading in details about Kiwi, we recommend reading the official complete documentation from the openSUSE project.
With a B.Sc and M.Sc in Computer Science & Engineering, Hanny brings more than a decade of experience with Linux and open-source software. He has developed Linux distributions, desktop programs, web applications and much more. All of which attracted tens of thousands of users over many years. He additionally maintains other open-source related platforms to promote it in his local communities.
Hanny is the founder of FOSS Post.


