Table of Contents:
BunsenLabs Lithium
-
Available software
-
Creativity & Inventing
-
Daily Use Purposes
-
Stability & Bugs
-
Customizability
Summary
BunsenLabs is a great continuation of the good old CrunchBang Linux. With a low resources consumption, a lot of helpful scripts and quick access to every aspect needed in the system… It becomes great for power users who are keyboard-driven in their usage. Being based on Debian allows it to enjoy a solid base of packages.
CrunchBang Linux was a minimal Linux distribution that is based on Debian, focusing on being lightweight yet full of useful and nifty functionalities for users. Sadly the distribution got discontinued on 2015 by its main developer, but the community behind it didn’t let it go. They gathered their selves and created what is known as BunsenLabs Linux; A continuation of the lightweight Debian-based CrunchBang Linux.
Unlike many derivatives in the open source world, BunsenLabs kept the original distribution’s philosophy and goals. That is, being lightweight and resource-friendly, and using Openbox as a default window manager instead of a normal Linux desktop environment. One can also notice how the distribution usage is heavily keyboard-driven, just like the original CrunchBang.
The latest version of BunsenLabs was released just this this month, codenamed Lithium. We downloaded the latest version in order to try it and see how the distribution will perform. We’ll go in a complete review for BunsenLabs Lithium.
BunsenLabs Lithium Review
Installation
The default BunsenLabs installer is the same one as in Debian 10.
However, installing BunsenLabs was a tricky move; The distribution required an Internet connection to proceed, and it failed to connect to the desired wireless network during installation for an unknown reason (It detected the network, asked for password, and always failed to activate the connection), and even with multiple wireless adapters used (TP-Link and D-Link adapters). But the distribution kept asking multiple times to reconfigure the network during the installation, and it even stopped it to ask where to look for a mirror of the main Debian repositories.
A lot of clicking around and cancelling was needed before the installation was completed. So that’s a minus one over there for the hard installation that an average Tom wouldn’t have been able to fulfill.
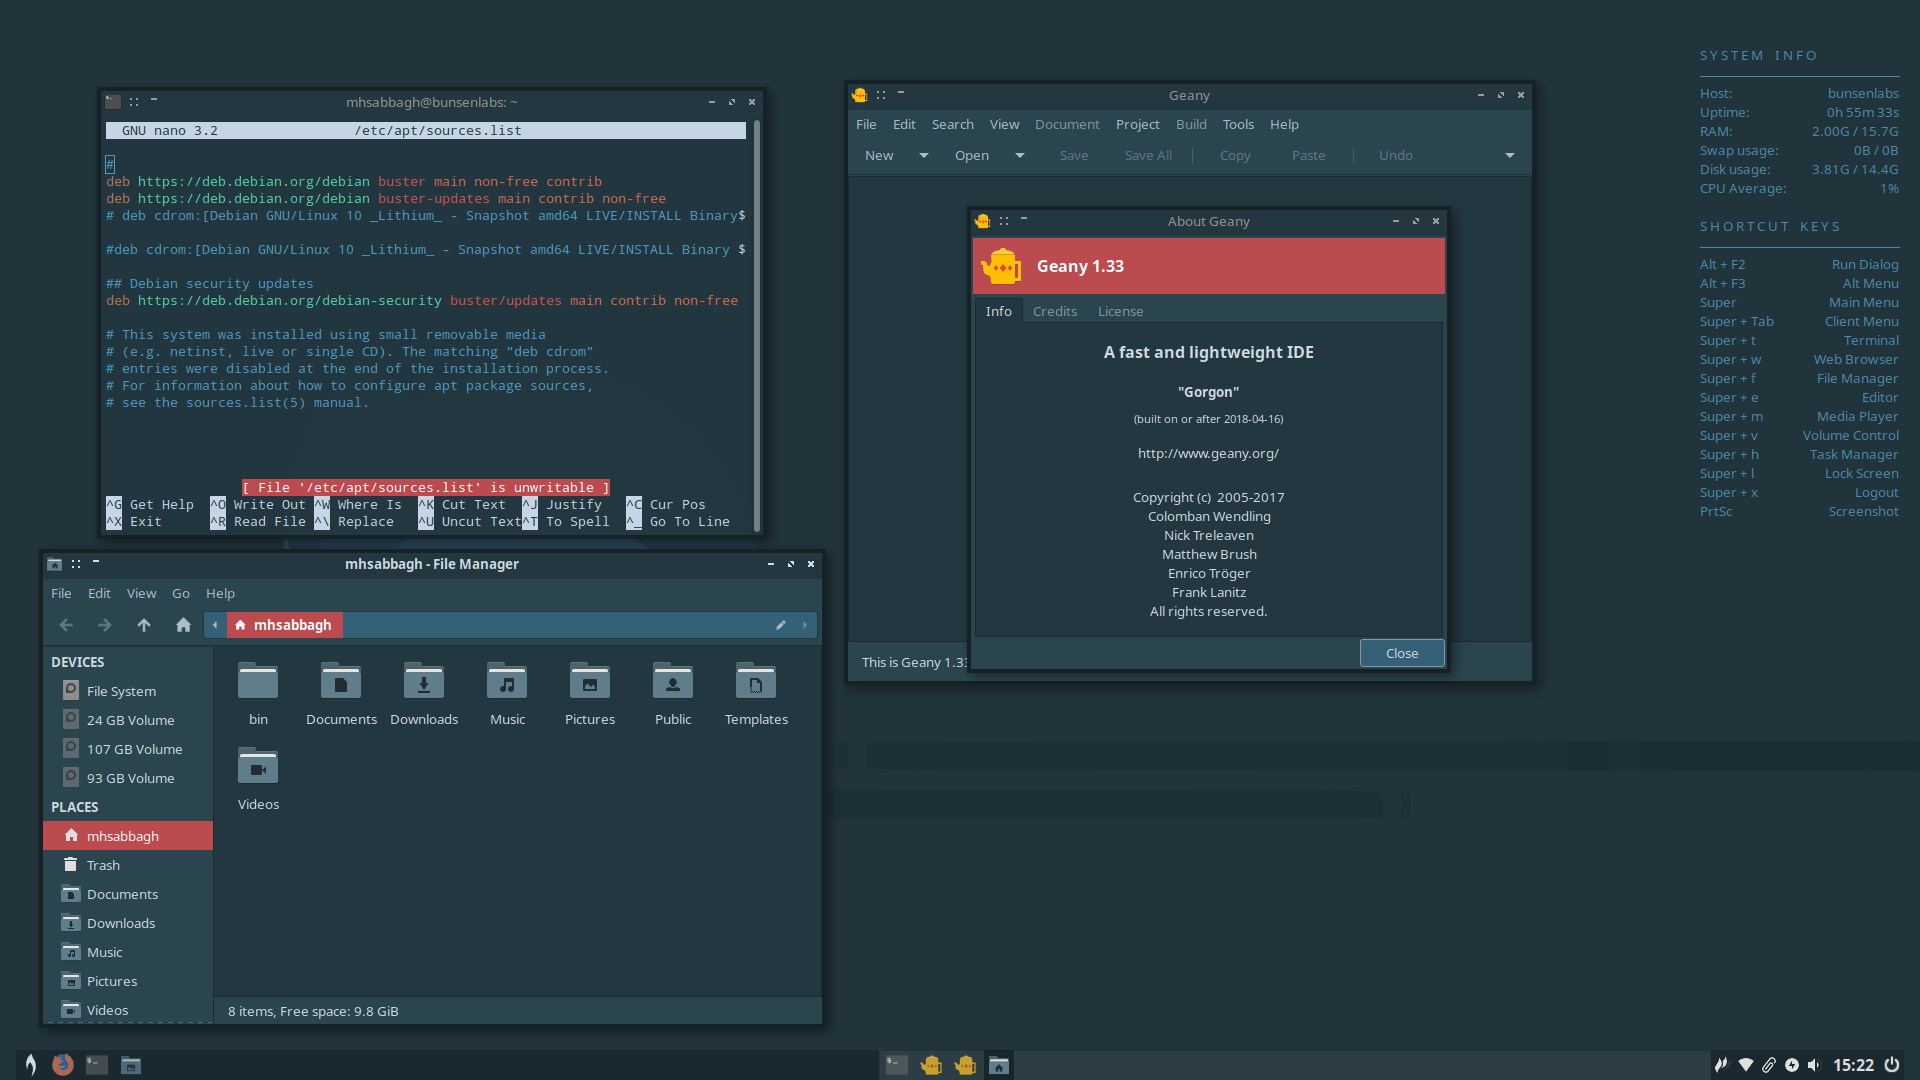
What was more severe is that the resulting installation was left without preconfigured Debian 10 repositories (Out of 54000 packages, only 5000 of them were available after installation) because the repositories weren’t added during the installation due to the Internet connection issue.
So after installation, we had to manually add the following lines to /etc/apt/sources.list:
deb https://deb.debian.org/debian buster main non-free contrib
deb https://deb.debian.org/debian buster-updates main contrib non-free
Post-Installation Script
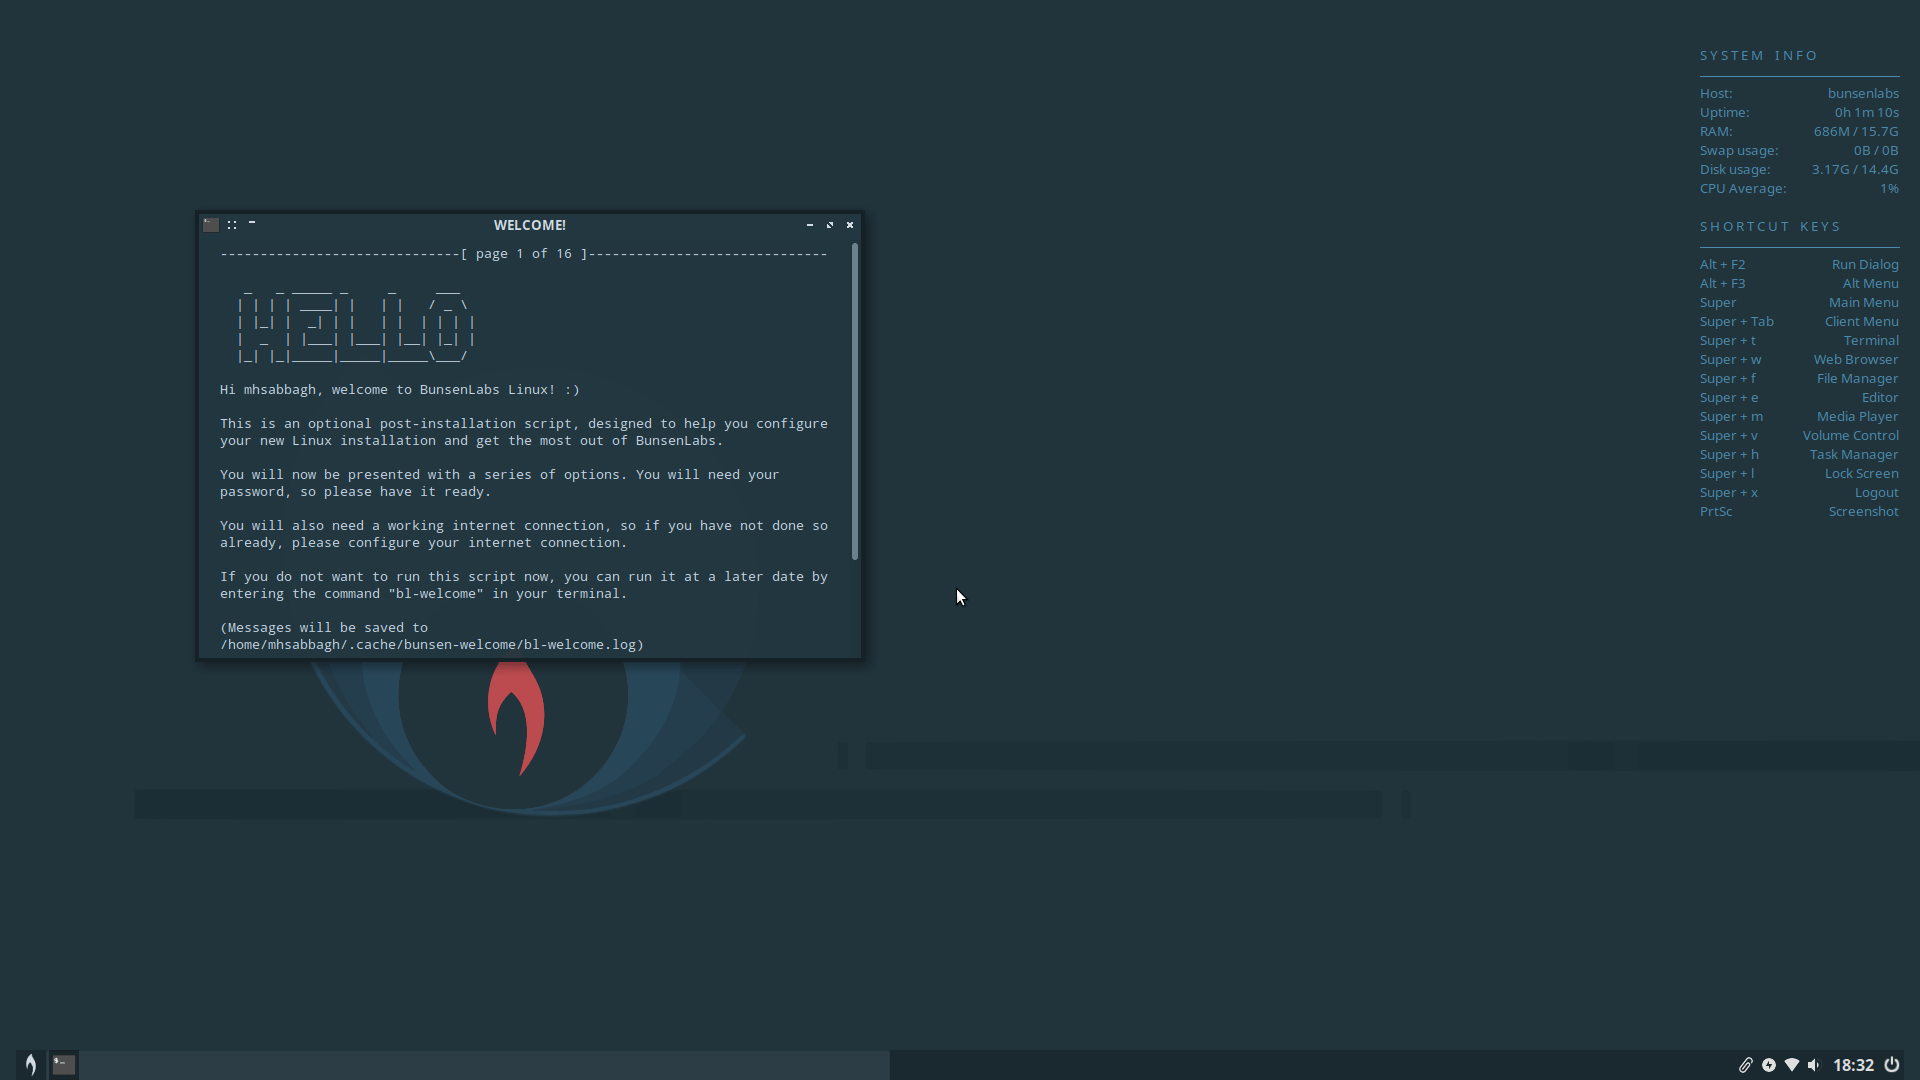
Luckily, the installation part was the hardest part. After that, things become better.
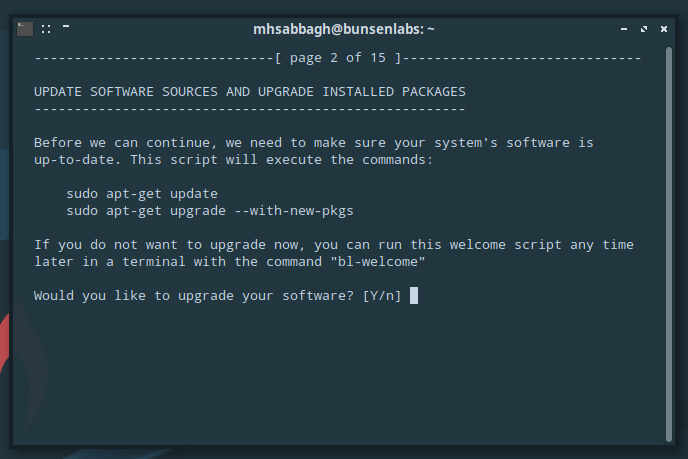
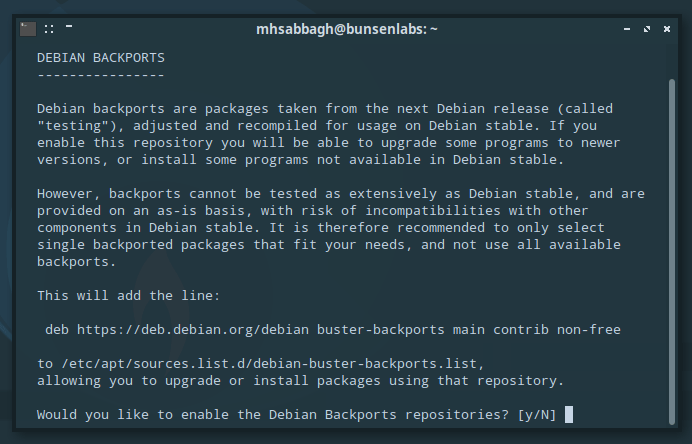
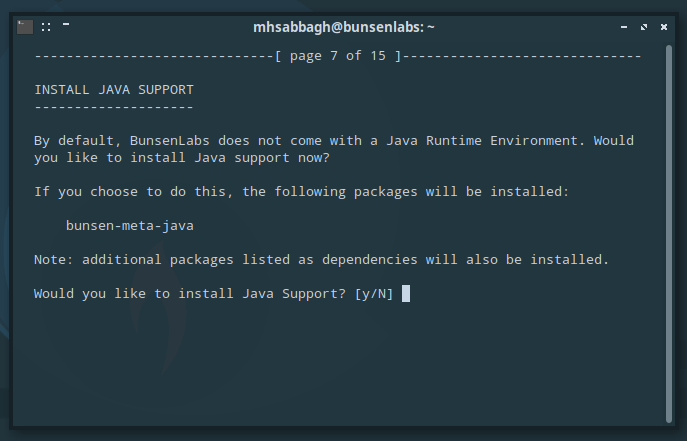
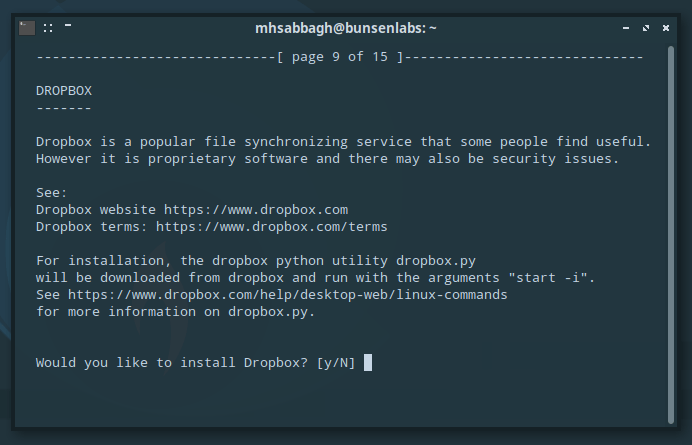
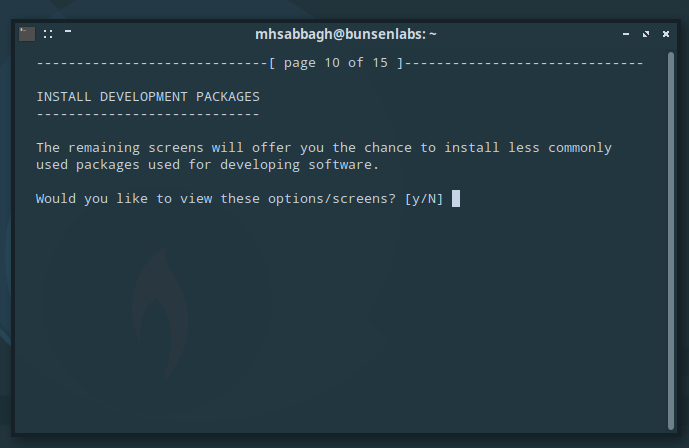
There’s a post-installation script that will be automatically displayed for you after first boot. It will ask you if you would like to add additional software repositories or programs/drivers to your system:
The post-installation script is quite neat; It saves the user a lot of time in searching online on how to install certain software using his/her new Linux distribution, and makes the system almost ready to use immediately. Sadly, few distributions recognize the importance of such post-installation helper scripts.
Overall System
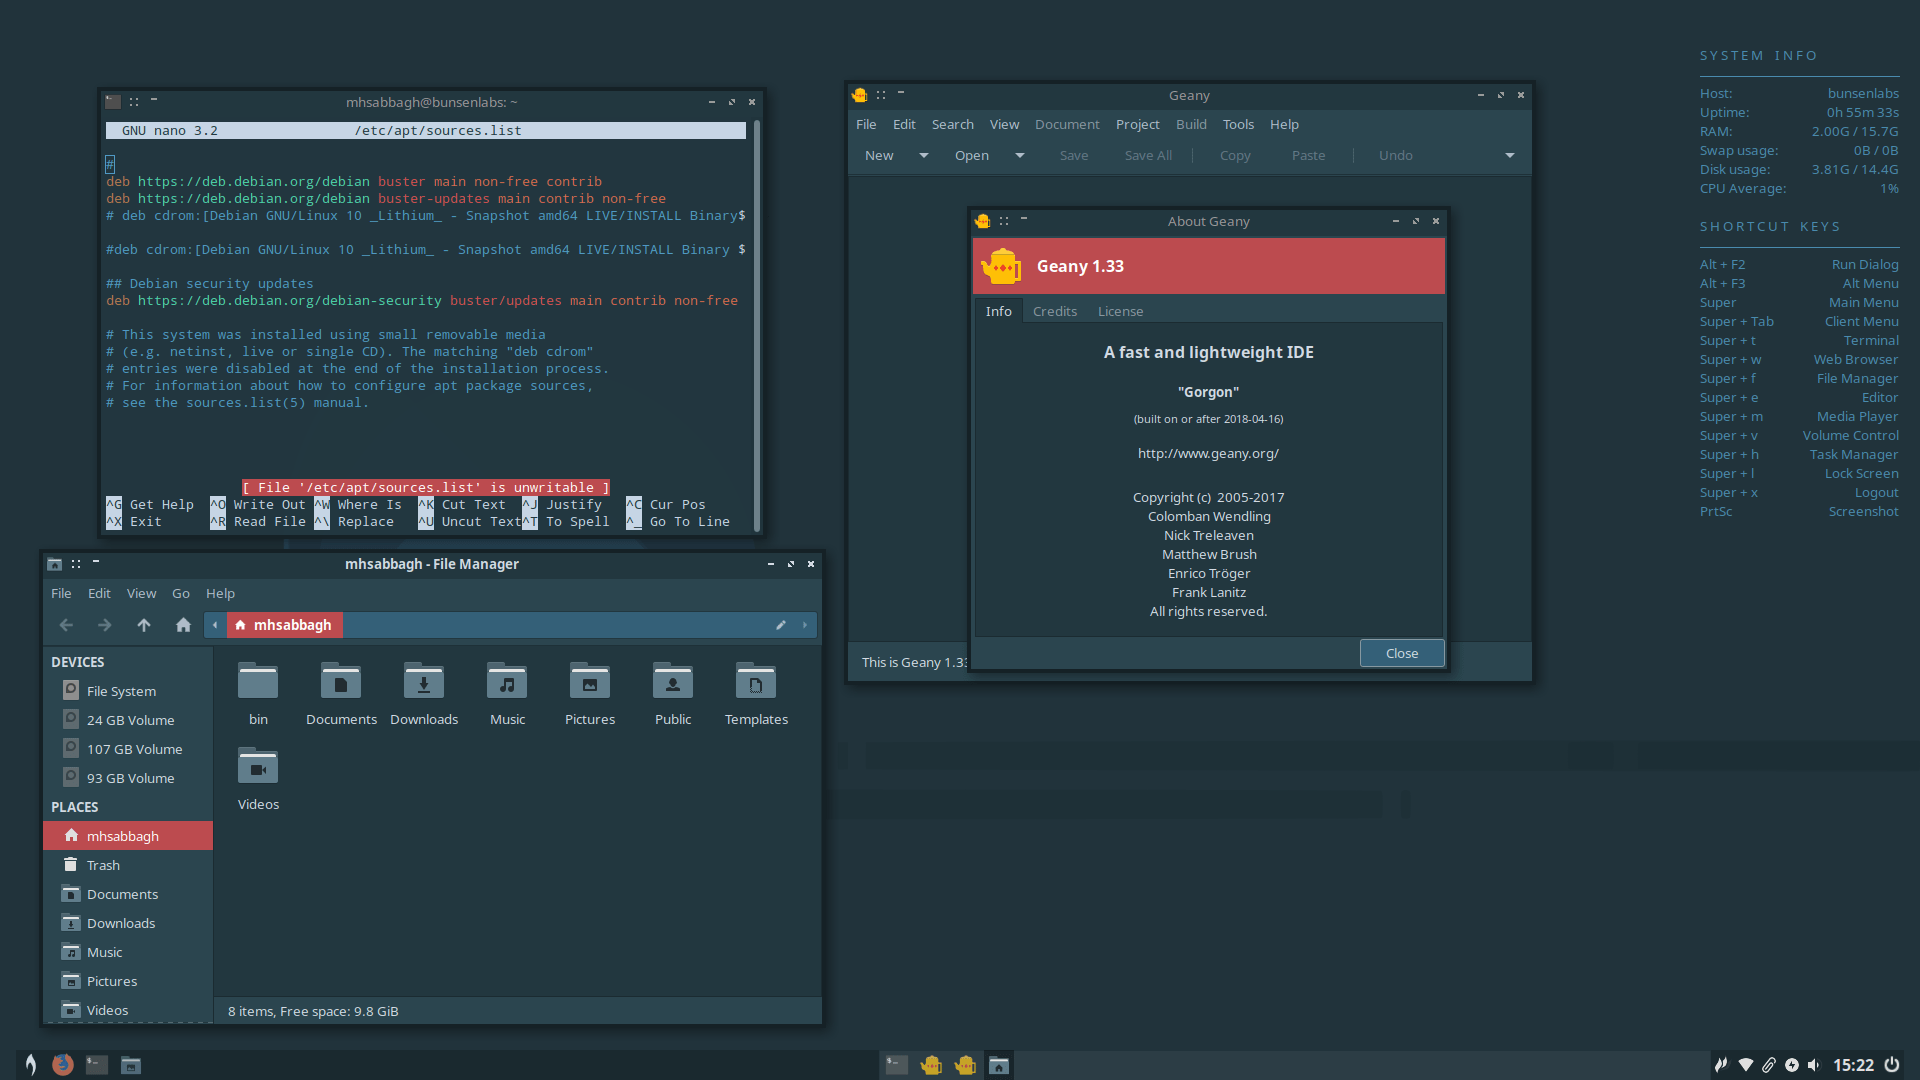
The display manager is LightDM. Openbox is the default window manager in BunsenLabs, with a conky panel on the right side to display resources usage and keyboard shortcuts, and a tint2 panel on the bottom customized to look beautiful regardless of the theme you decide to use.
The menu is a quick-and-dirty access menu for not just the installed applications on the system, but also to all the configuration files of everything installed. Clicking on any of these files will instantly open it in the Geany text editor. Moreover, the menu has an embedded search functionality:
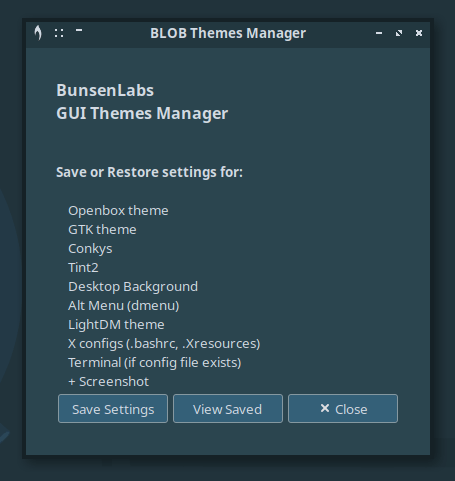
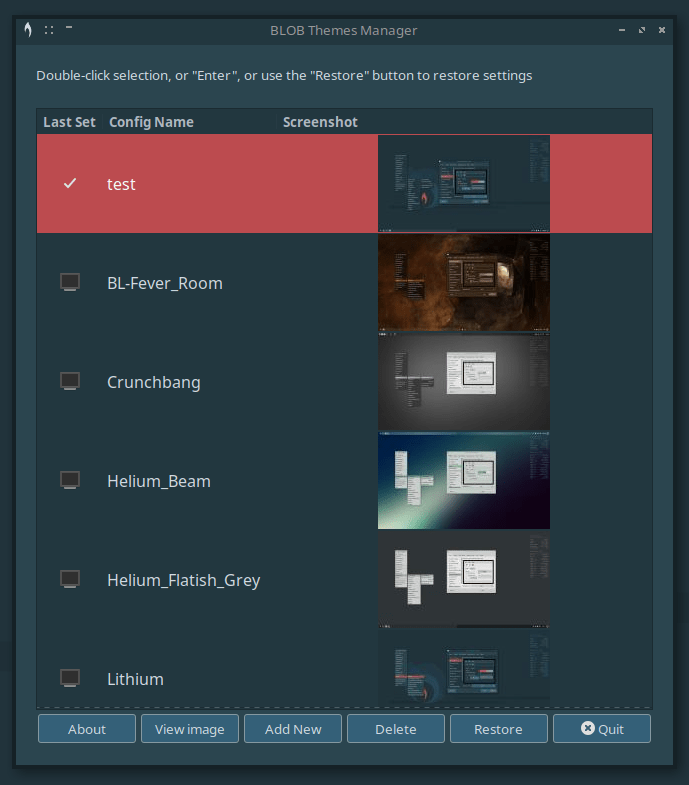
One of the nice possibilities of BunsenLabs is changing the overall system look in one click using the “BunsenLabs GUI Themes Manager”. And while this may sound like a silly task for many of you, you should realize that BunsenLabs is using many non-homogeneous components for its desktop: Openbox, conky, tint2, GTK2/GTK3, icon themes and dmenu. Changing the themes of all of these components in one click into a compatible theme for everything is an a hard task from a technical perspective.
The theme manager will first ask you to save your current settings before you proceed. After that, you can choose the theme you would like to apply:
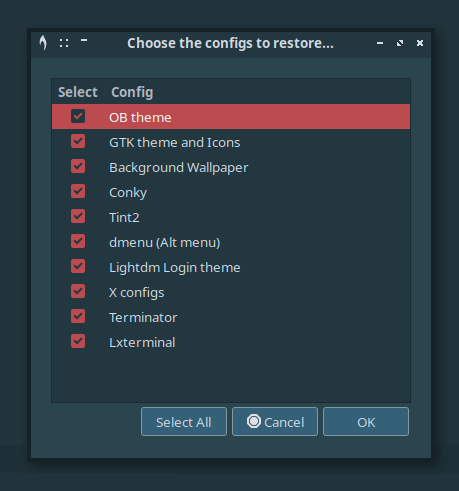
You can possibly choose to apply the theme on some components only, if you want, instead of all of them (However you desire):
Everything will change once you apply the theme:
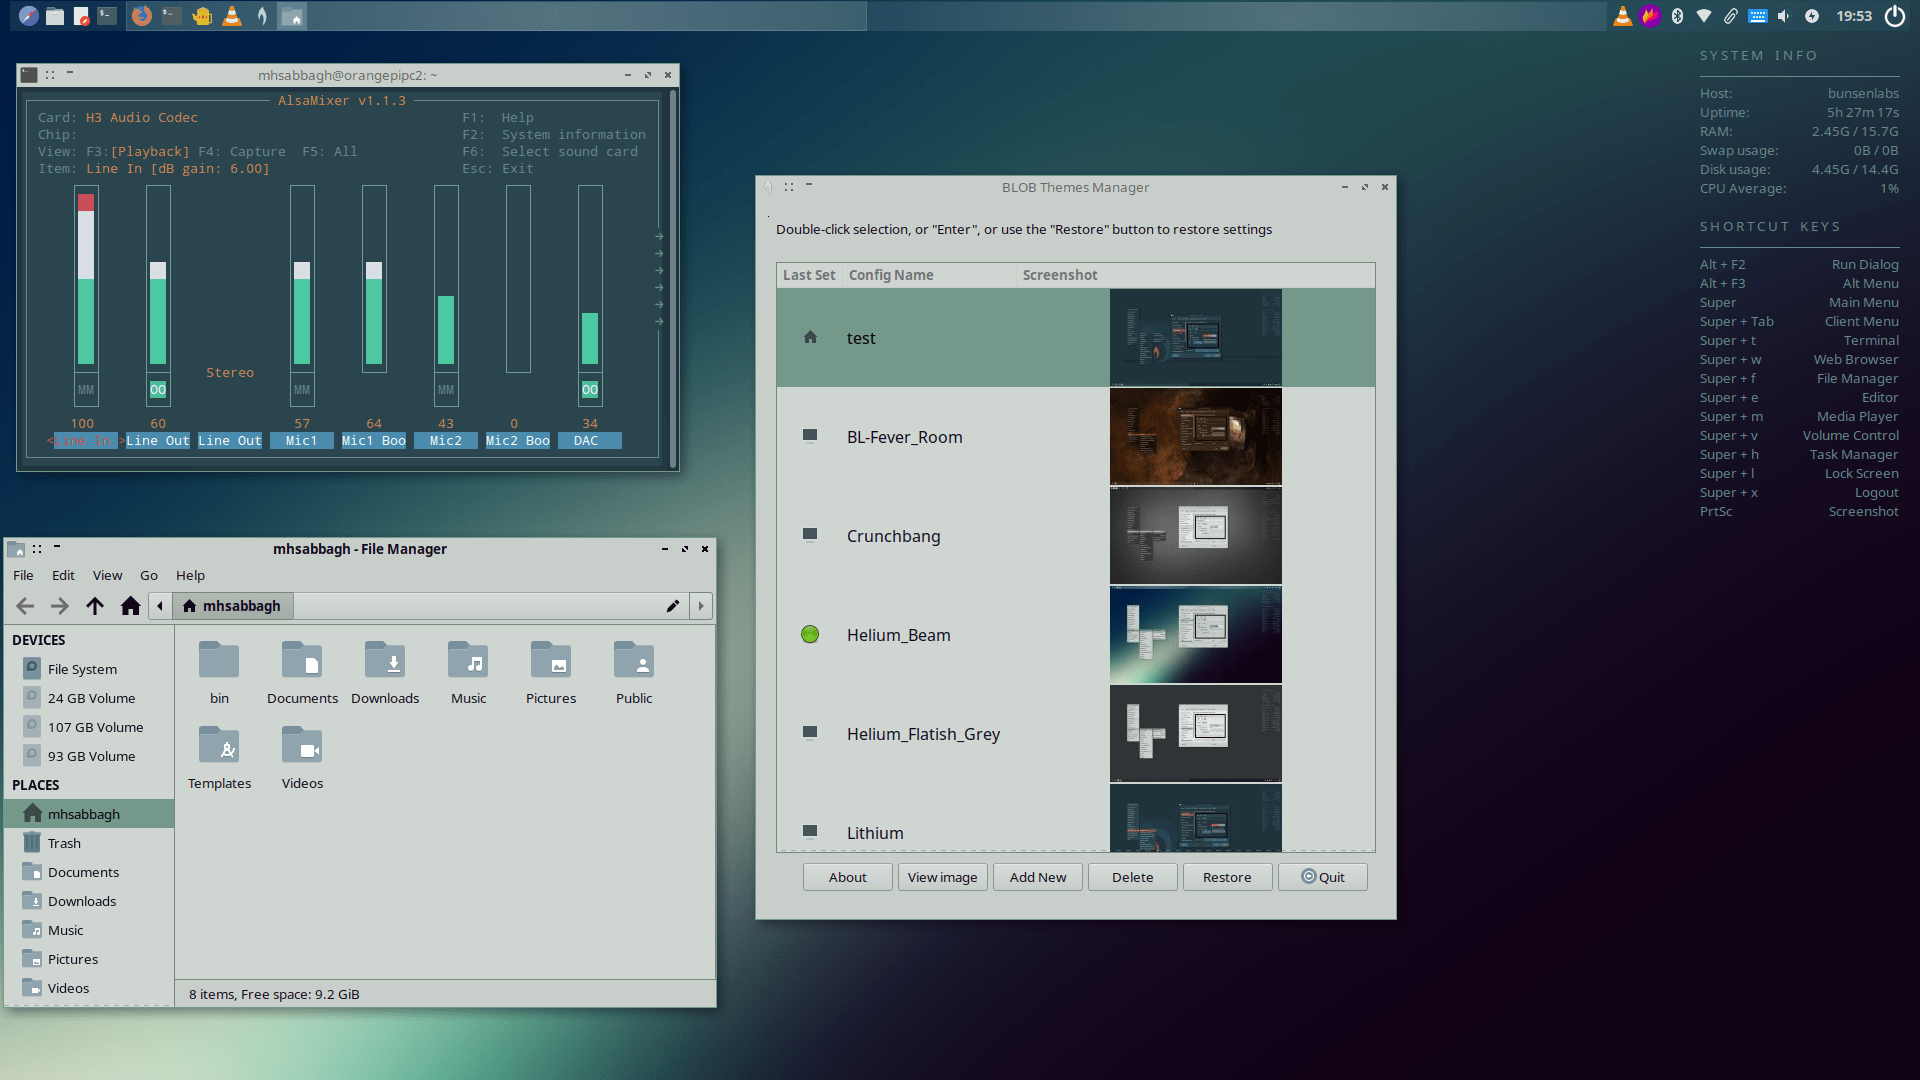

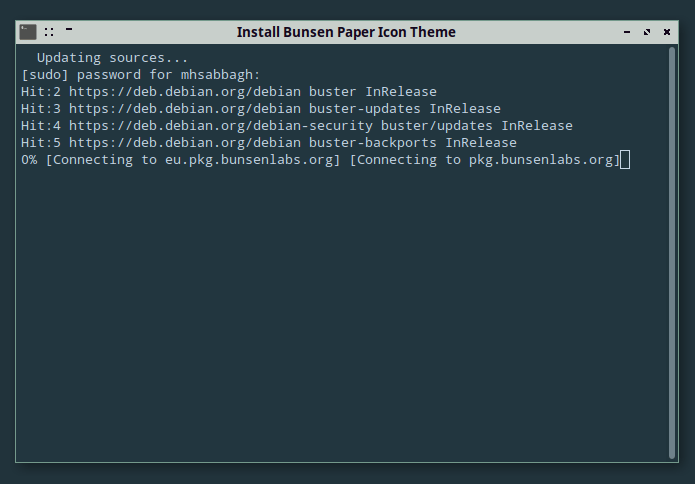
An interesting feature in this theme manager is that it detects if there’s a missing component in the theme you are trying to apply, and it will offer to install it automatically for you (Here it is installing the Paper icon theme by itself):
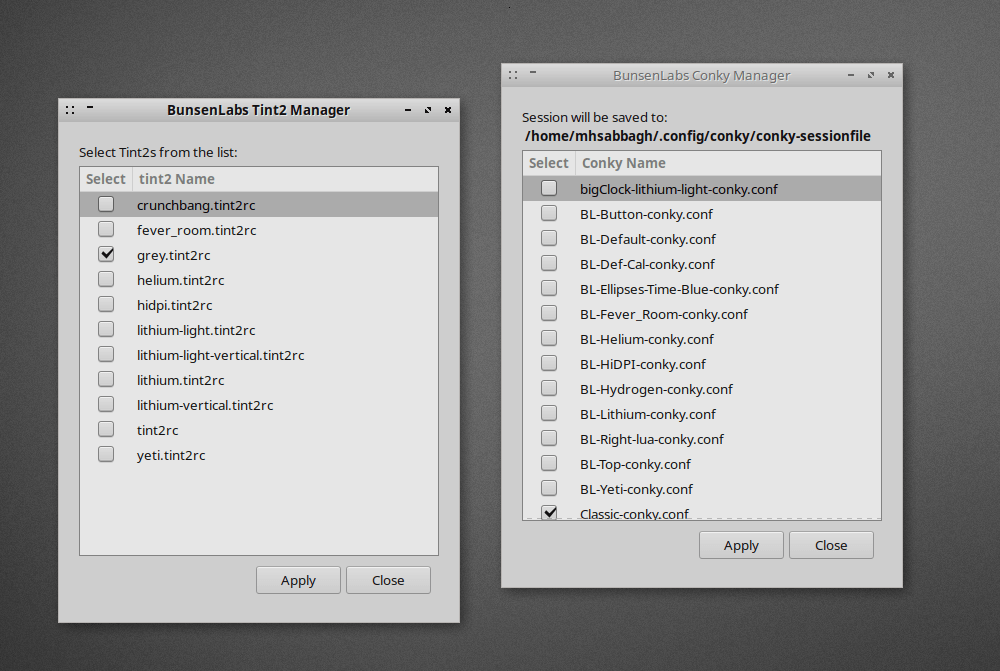
There are special window dialogs to change the themes of tint2/conky:
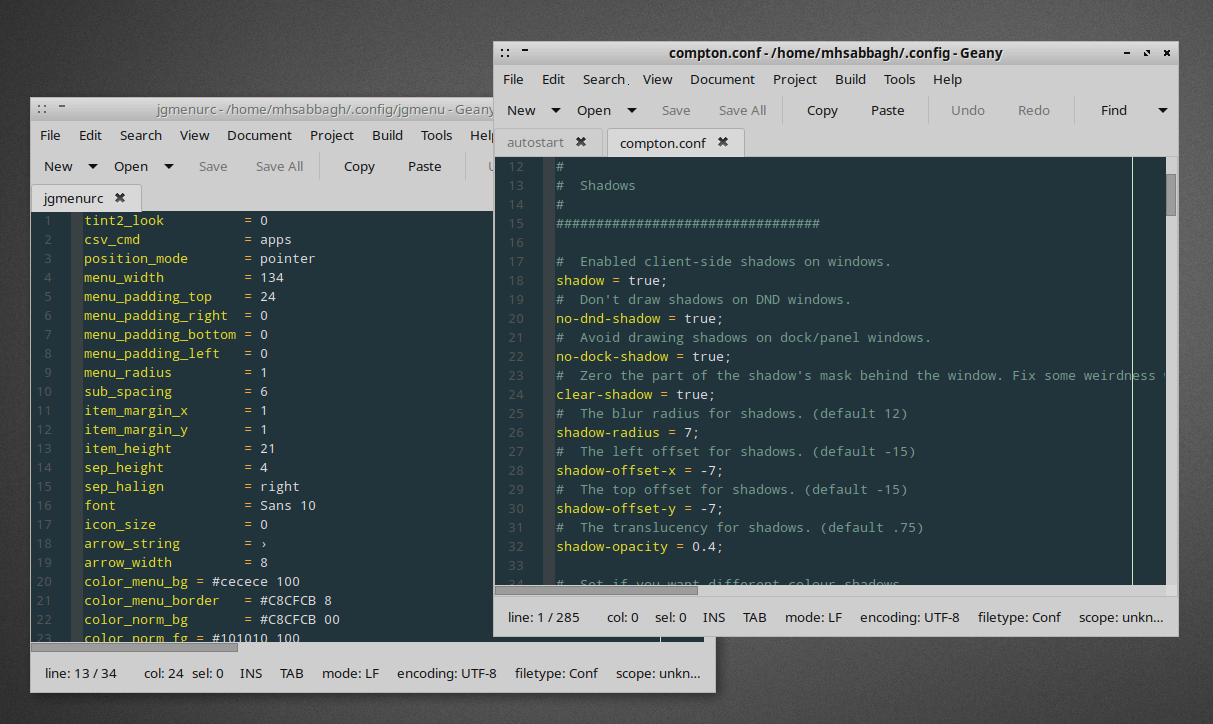
BunsenLabs depends heavily on editing text files to change system settings and preferences, which is the actual spirit of the old CrunchBang Linux; It had the same philosophy that text files are much easier and quicker to deal with rather than GUI programs. Almost every single configuration file is available for direct editing access in the dmenu, and this includes tint2, openbox, conky, compositing settings, dmenu settings… Much much more:
Keyboard Layouts Support
One of the minor hitches of BunsenLabs – if you are talking about the average Tom – is that there’s no way in it to set up a different keyboard layout. A new user will have to search online on how to use the command line to add new layouts to his/her system.
One of the recommended ways in the forums was to install ibus and launch ibus-setup in order to do that. However, ibus kept failing in switching the layouts using Alt + Shift key combination. So we had no option but to use the good old command:
setxkbmap -layout 'us,ar' -option 'grp:alt_shift_toggle' &
With replacing us,ar with the languages you want (E.g us, es for English and Spanish layouts, and you could add more if you want). The command also needs to be added to the startup commands after each boot.
Software Management
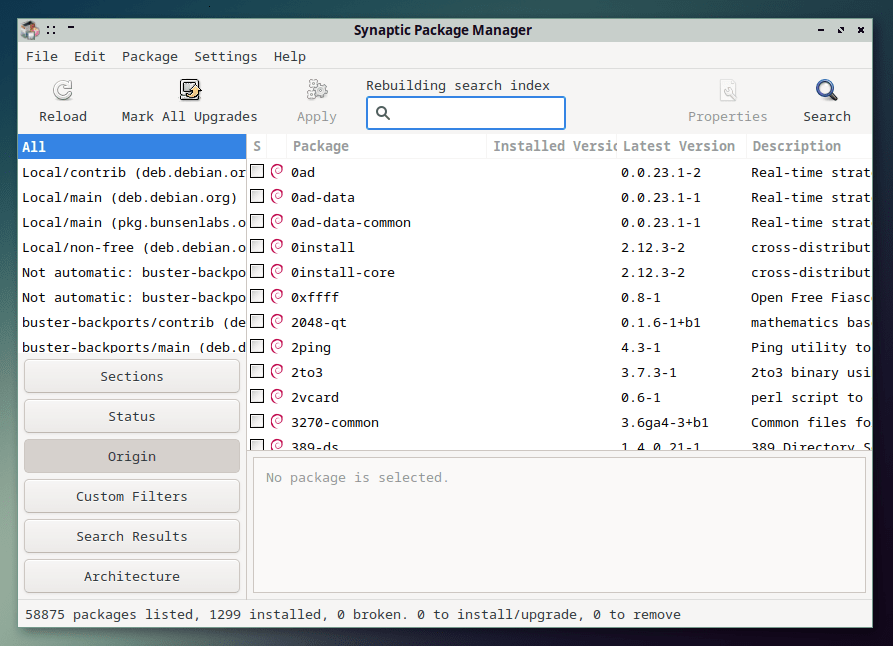
Just like Debian, apt is the default package manager from the command line. If you would like to use a graphical program, then Synaptic is available and shipped by default:
BunsenLabs uses the main Debian repositories to provide users with most software, and it also has its own repositories in which they ship other packages, mainly meta packages to ease the installations of a group of packages.
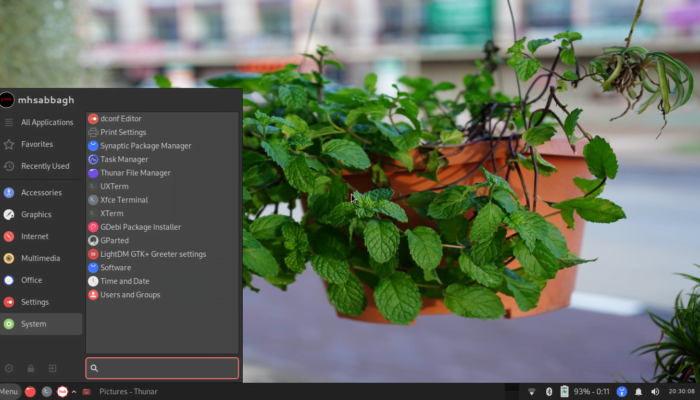
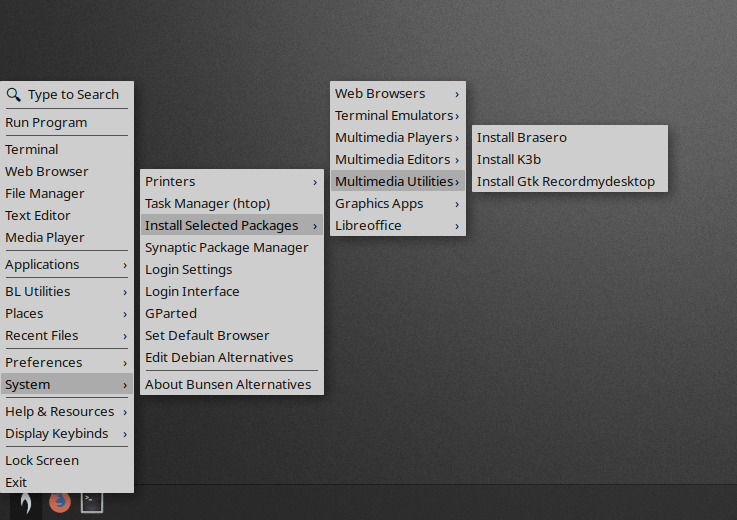
As you should have seen from the previous video in this review, there are some ready installation scripts for installing various important software in the applications menu (dmenu), such as Chromium, LibreOffice, Gimp, Inkscape… etc. One can just click them to install the software he/she needs:
Performance
BunsenLabs uses around 500MB of RAM after a fresh boot:
mhsabbagh@bunsenlabs:~$ free -m
    total used free shared buff/cache available
Mem: 16033 497 15176 9 359 15253
Swap: 0 0 0
And reaches the login screen in 7 seconds:
mhsabbagh@bunsenlabs:~$ systemd-analyze
Startup finished in 3.740s (kernel) + 7.186s (userspace) = 10.926s
graphical.target reached after 7.172s in userspace
This review was done on the following hardware:
- CPU: AMD Ryzen 1600, 6 cores and 12 threads.
- GPU: Asrock AMD RX 580, 4GB of VRAM dual-channel.
- RAM: 16GB OF DDR4 RAM, 3000MhZ.
- Motherboard: ASUS Dragon B450M.
- SSD: Apacer Panther AS340 240GB SSD.
Conclusion
These were the most interesting BunsenLabs features. It is truly a great continuation of the original CrunchBang Linux, and anyone who used both distributions can feel how identical they are in most aspects.
Still, the installation bug and some other extra graphical windows for managing localization and other aspects in the system would be great to fix.
You can go ahead and download BunsenLabs from its official website.
Your thoughts about BunsenLabs and how it relates to CrunchBang are welcomed int he comments.
BunsenLabs Lithium
-
Available software
-
Creativity & Inventing
-
Daily Use Purposes
-
Stability & Bugs
-
Customizability
Summary
BunsenLabs is a great continuation of the good old CrunchBang Linux. With a low resources consumption, a lot of helpful scripts and quick access to every aspect needed in the system… It becomes great for power users who are keyboard-driven in their usage. Being based on Debian allows it to enjoy a solid base of packages.
With a B.Sc and M.Sc in Computer Science & Engineering, Hanny brings more than a decade of experience with Linux and open-source software. He has developed Linux distributions, desktop programs, web applications and much more. All of which attracted tens of thousands of users over many years. He additionally maintains other open-source related platforms to promote it in his local communities.
Hanny is the founder of FOSS Post.
