QEMU is a virtualization technology emulator that allows you to run operating systems and Linux distributions easily on your current system. It is like VMware or VirtualBox, but it is also free and open source, and uses open technologies to make virtualization possible.
You can use it to emulate running any operating system you want on a lot of devices and architectures.
QEMU is free and open source, and is licensed under GPL 2.
It has the ability to run under both KVM and XEN technologies (if you enabled virtualization support from your BIOS first) and offers a lot of options and virtualization options.
In this article, we’ll explain how to install QEMU and use it on Linux.
How To Install QEMU
Fortunately, QEMU is available to install from all the official Linux distribution repositories.
This is a good thing for us since we won’t need to download or install anything from 3rd party repositories.
To install QEMU on Ubuntu/Linux Mint, run the following command in the terminal:
sudo apt install qemu-system
To install QEMU on Red Hat/CentOS/Fedora (replace dnf with yum for Red Hat/CentOS):
sudo dnf install qemu qemu-kvm
To install QEMU on SUSE/openSUSE
sudo zypper in qemu
To install QEMU on Arch Linux:
sudo pacman -S qemu
How To Use QEMU
QEMU provides a lot of options, architectures and formats to use. We Will see many different examples in order to understand the possible ways to achieve our goals using QEMU.
First, we have to create a virtual hard drive image if we want to install our virtual operating system somewhere. This image file will contain all the data and files of the operating system after installation. To do this, we can use the qemu-img tool.
To create an image file with the size of 10GB and qcow2 format (the default format for QEMU images), run:
qemu-img create -f qcow2 testing-image.img 10G
Note that a new file called “testing-image.img” is now created in your home folder (or the place where you run the terminal).
Note also the size of this file is not 10 Gigabytes, it’s around 200 Kilobytes only: QEMU won’t use any space unless needed by the virtual operating system. It will set the maximum allowed space for that image to 10 Gigabytes only.
Now that we’ve created our image file, we can run our wanted ISO/IMG file for the desired Linux distribution or another operating system to emulate using QEMU.
Make sure you have downloaded the ISO file for the OS you want to run on the emulator first, like Ubuntu‘s or Fedora‘s.
Then, run the following command to start the process:
qemu-system-x86_64 -m 1024 -boot d -enable-kvm -smp 3 -net nic -net user -hda testing-image.img -cdrom ubuntu-16.04.iso
Let’s explain the previous command part by part:
-m 1024: Here we chose the RAM amount that we want to provide for QEMU when running the ISO file. We chose1024MBhere. You can change it if you like according to your needs.-boot -d: The boot option allows us to specify the boot order, which device should be booted first?-dmeans that the CD-ROM will be the first, and then QEMU will boot normally to the hard drive image. We have used the-cdrom optionas you can see at the end of the command. You can use-cif you want to boot the hard drive image first.-enable-kvm: This is a very important option. It allows us to use the KVM technology to emulate the architecture we want. Without it, QEMU will use software rendering which is very slow. That’s why we must use this option. Just make sure that the virtualization options are enabled from your computer BIOS (some laptops and PCs have it disabled by default in the BIOS).-smp 3: If we want to use more than 1 CPU core for the emulated operating system, then we can use this option. We chose to use3cores to run the virtual image which will make it faster for us to work with. You should change this number according to your needs and the host system’s CPU specifications.-net nic -net user: By using these options, we will enable an Ethernet Internet connection to be available in the running virtual machine by default.-hda testing-image.img: Here we specified the path for the hard drive which will be used. In our case, it was thetesting-image.imgfile which we created in the step before. In other words, we are telling QEMU here that we want it to use this disk image file as a virtual hard disk to install the virtual OS later on.-cdrom ubuntu-23.04.iso: Finally, we told QEMU that we want to boot our ISO file namedubuntu-23.04.iso. You should replace this with the name of your ISO file or the complete path to it (make sure it is in the same directory where you are running the command if you don’t use the full path).
After you run the previous command, QEMU will start for you as a standalone window:
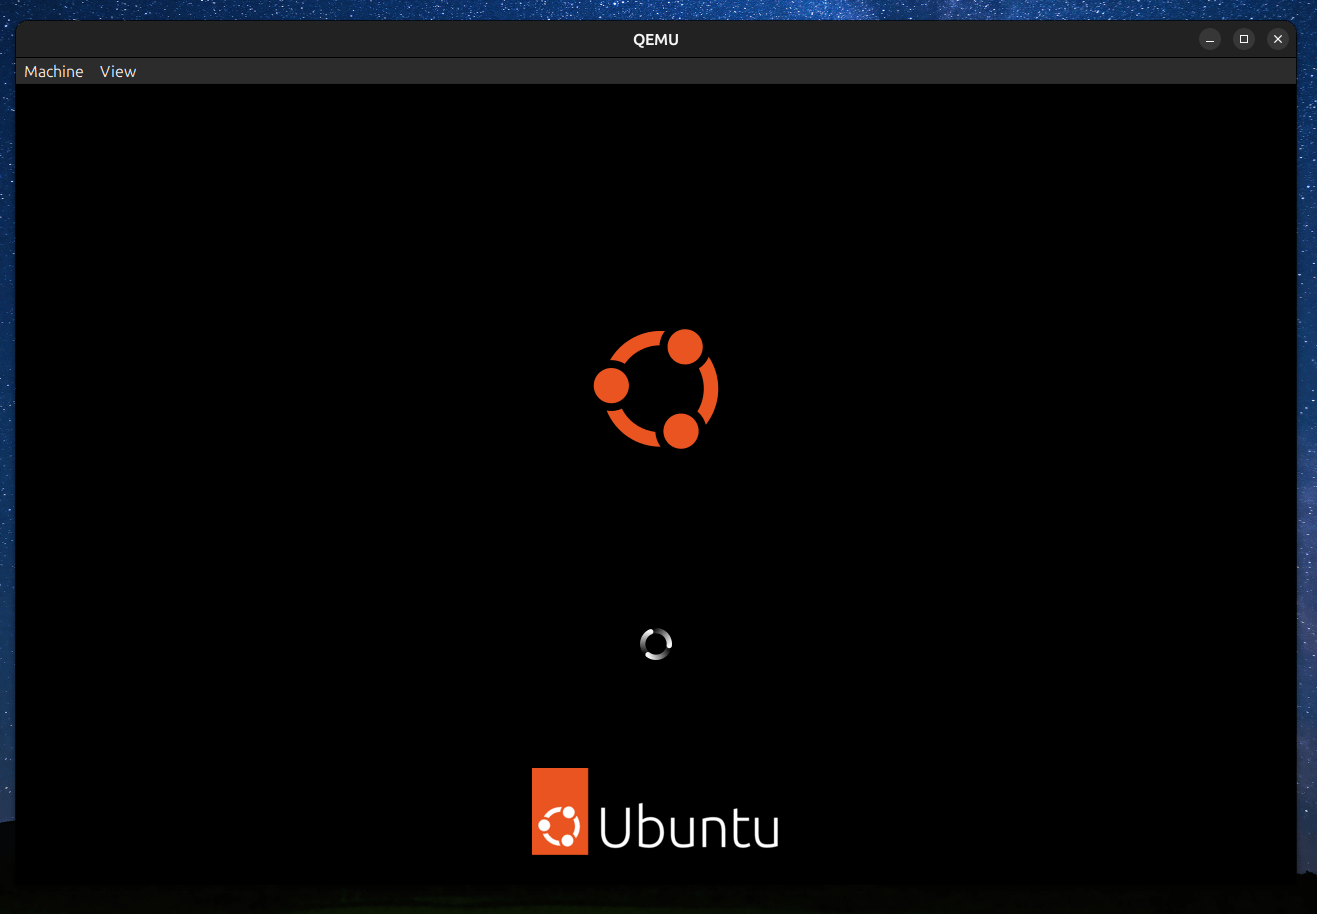
You can proceed with exploring or installing your virtual operating system just like you do with a normal OS.
Now, if you want to boot from the disk image file without the ISO file (for example if you have finished installing the virtual OS and now you want to boot the installed system), you can just remove the -cdrom option:
qemu-system-x86_64 -m 1024 -boot d -enable-kvm -smp 3 -net nic -net user -hda testing-image.img
That’s it! That’s all you need to start using QEMU.
Note that in this tutorial, we used the x86_64 architecture to run QEMU. If you want, you can choose from a lot of other available architectures to test your systems on:
ls /usr/bin | grep qemu-system*
qemu-system-aarch64
qemu-system-alpha
qemu-system-arm
qemu-system-cris
qemu-system-i386
qemu-system-lm32
qemu-system-m68k
qemu-system-microblaze
qemu-system-microblazeel
qemu-system-mips
qemu-system-mips64
qemu-system-mips64el
qemu-system-mipsel
qemu-system-moxie
qemu-system-or32
qemu-system-ppc
qemu-system-ppc64
qemu-system-ppc64le
qemu-system-ppcemb
qemu-system-sh4
qemu-system-sh4eb
qemu-system-sparc
qemu-system-sparc64
qemu-system-tricore
qemu-system-unicore32
qemu-system-x86_64
qemu-system-x86_64-spice
qemu-system-xtensa
qemu-system-xtensaeb
For example, if you want to emulate the i386 architecture, you should run the following command:
qemu-system-i386 -m 1024 -boot d -enable-kvm -smp 3 -net nic -net user -hda testing-image.img
Just make sure that the ISO file for Linux distributions and other operating systems you use are for the same architecture that you use on QEMU. If they are different, you may not be able to boot it up or install it.
If you want to use QEMU to boot from a CD / DVD inserted in your optical disk drive, then you can easily do that using the following command:
qemu-system-x86_64 -m 1024 -boot d -enable-kvm -smp 3 -net nic -net user -hda testing-image.img -cdrom /dev/cdrom
You can learn more about QEMU and its possible use cases from the official documentation and the wiki page for QEMU.
Conclusion
QEMU is a very effective technology to emulate virtual operating systems.
It offers huge possibilities for using and testing operating systems, and gives a very nice performance. It’s free and open source and available in all major Linux distributions’ repositories, which makes it one of the best emulating and virtualization software on the Linux desktop.
If you need help following this tutorial, then we can hear your questions from the comments below.
With a B.Sc and M.Sc in Computer Science & Engineering, Hanny brings more than a decade of experience with Linux and open-source software. He has developed Linux distributions, desktop programs, web applications and much more. All of which attracted tens of thousands of users over many years. He additionally maintains other open-source related platforms to promote it in his local communities.
Hanny is the founder of FOSS Post.


